Sorry about the pics camera isn't real good with up close pics.
Fuel Injector Cover Install How-To on a 95-99 Dodge Neon
Materials needed:
-Fuel Injector cover form a 2nd gen Neon and the fuel rail bolts that are used.
-Nuts and washers to fit the 2nd gen fuel rail bolts or speed nuts that fit the fuel rail bolts
-JB Weld Epoxy (not Necessary but I used it)
-Rivets and Riveting tool (can use screws and nuts instead)
-blue lock tite
-1”X1” aluminum angle stock (this can be found at most hardware stores in 3-4 foot sections)

-13mm socket or wrench
-hacksaw or sawzall for cutting the aluminum
-3/16” drill (for what ever size screw or rivet you are going to use) and 3/8” drill bit
-Vise Grips
-bottle of white out
After aquiring your injector cover and bolts I am sure you noticed how dirty it is, only a gentle hand will be able to get it clean without flaking the paint off the letters. What I advise is hit the local hobby shop and pick up a pen or 2 of silver paint in a marker form, then run the injector cover thru the dishwasher and redo the letters with the paint marker from the hobby shop. After its clean and the letters have been freshened up I recommend a clear coat over it, I use Rust-Oleum’s crystal clear enamel clear coat, it goes on kind of thick and since you won’t be able to sand the cover this clear coat does a decent job of glossing it up and helping to protect the letters you just repainted along with covering the marker stokes a little better. But this described optional step is up to you.
1- Take the 1”X1” aluminum angle stock and cut it into 4-1” inch sections so that you now have 4 “L”s
2- Now take 2 pieces and put them together to form a “Z” take note of positioning of each piece because the second one has to be similar. Now that you have them in a “Z” shape use the vise grips to hold them together.
3- Use the 3/16” drill bit to drill 3 holes where the 2 pieces overlap, this is where you will use rivets or screws to hold the pieces together. You will repeat this for the second bracket. When you are done you will have 4 “L”s with 3 small holes in them, make sure you keep them paired up right so the holes match up when you go to join them together
4- Now you need to take 2 of the “L”s one from each eventual bracket and drill a 3/8” hole into the flange with no holes in it, make sure you orient the surface with 3 holes to be on the right and left respectively. (The bracket on the left side of the motor will require that the 3 hole flange is pointing to the left, and vice versa for the other bracket on the right)
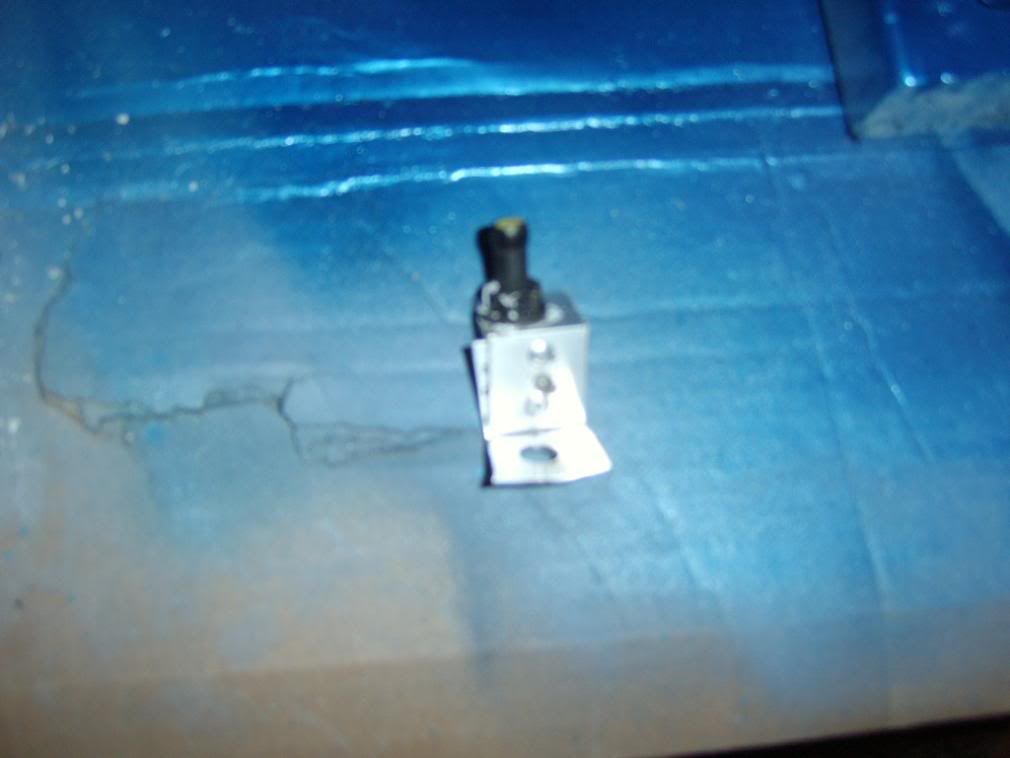
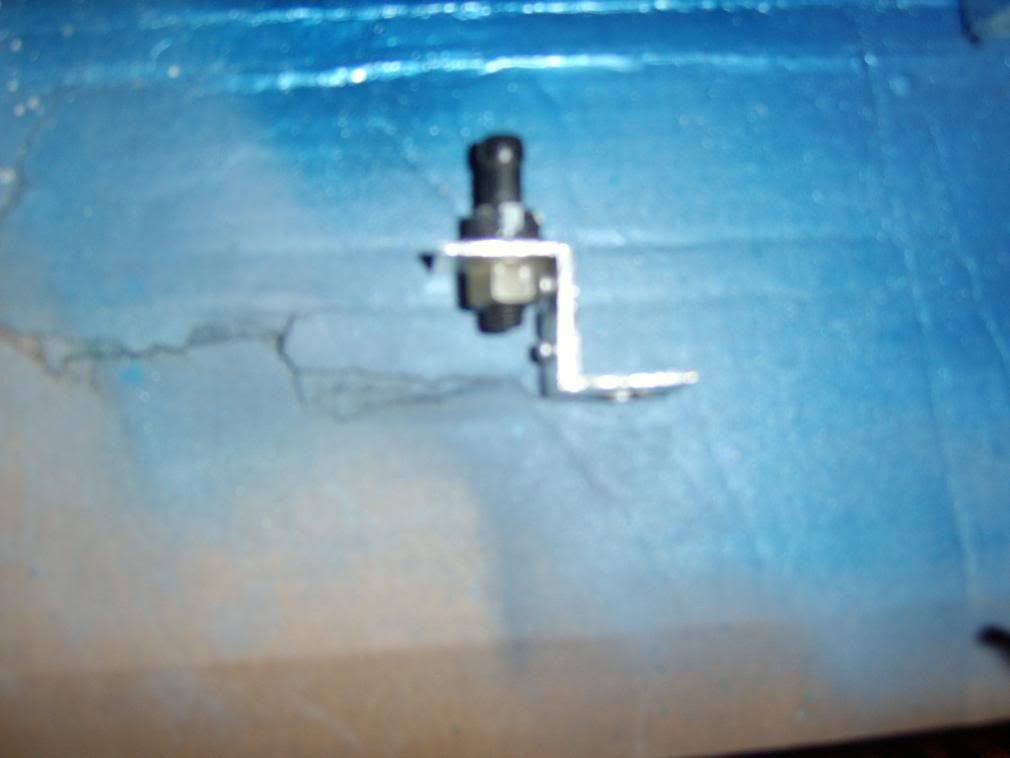
5- Now that you have the majority of the holes drilled it’s now time to join the pieces. Take the 2 pieces for the left bracket and line up the pieces so it forms a “Z” the 3 little holes you drilled should line up, at this point is when I applied the epoxy to the 2 pieces and then riveted them. If you want to use little screws with nuts that should be fine also.
6- Now remove your fuel rail bolts, take the “Z” bracket with an undrilled flange pointing left put it on the left side and the “Z” bracket that has an undrilled flange pointing right on the right side, snug them down enough to prevent the brackets from moving.
7- Now take the injector cover and apply a liberal amount of white out to the area where the bolts slide into the rubber mounts on the cover and place the cover where you would like it to sit, the white out should transfer to the aluminum so you have reference points for the next set of holes you need to drill.
8- Remove the brackets from their mounting points. Using the 3/8” drill bit drill your final hole in each bracket. When you drill these final holes I recommend slotting them so you can fine tune the positioning. You can use either a regular nut that will fit on the 2nd gen fuel rail bolt or a speed nut and bolt on the 2nd gen fuel rail bolt. Then use some blue lock tite on the bolts that are holding the fuel rail since they are now backed out a good 1/8”
9- Now you are done and you have a removable injector cover.
Please note this should work on a SOHC engine also but the aluminum stock may need to be of different dimensions.