This is for everyone who wants to perform the swap as well. I am asked all the time how to so I figure this would be the best option.
Now At this point I have decided officially I am going SRT with my beloved neon. From here on out I am going to be as detailed as I can so if anyone else wishes to do the swap as well they will have a how to starting with the guage cluster....
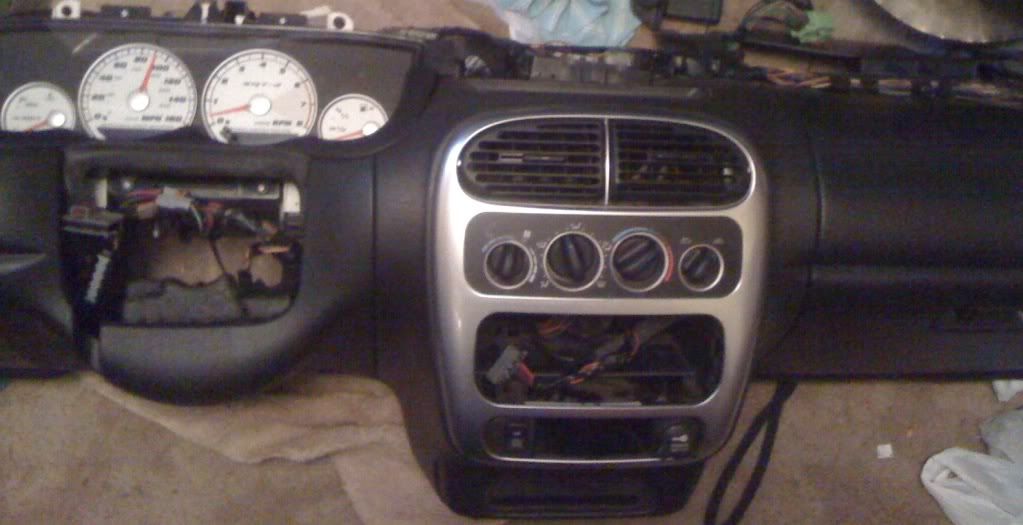
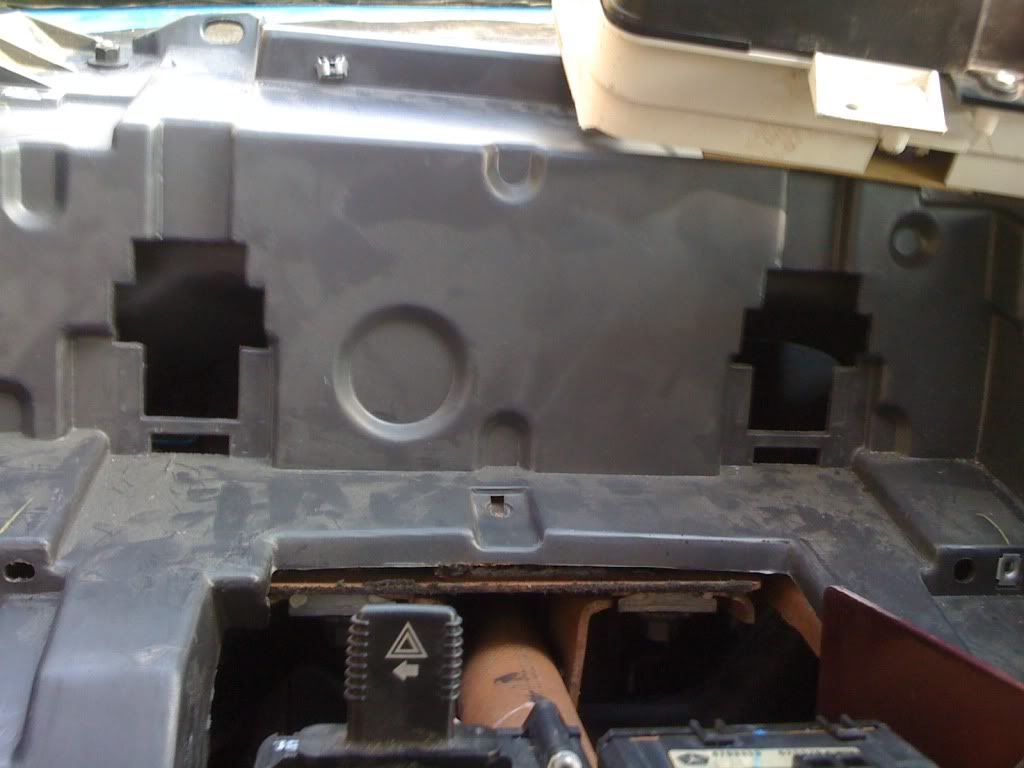
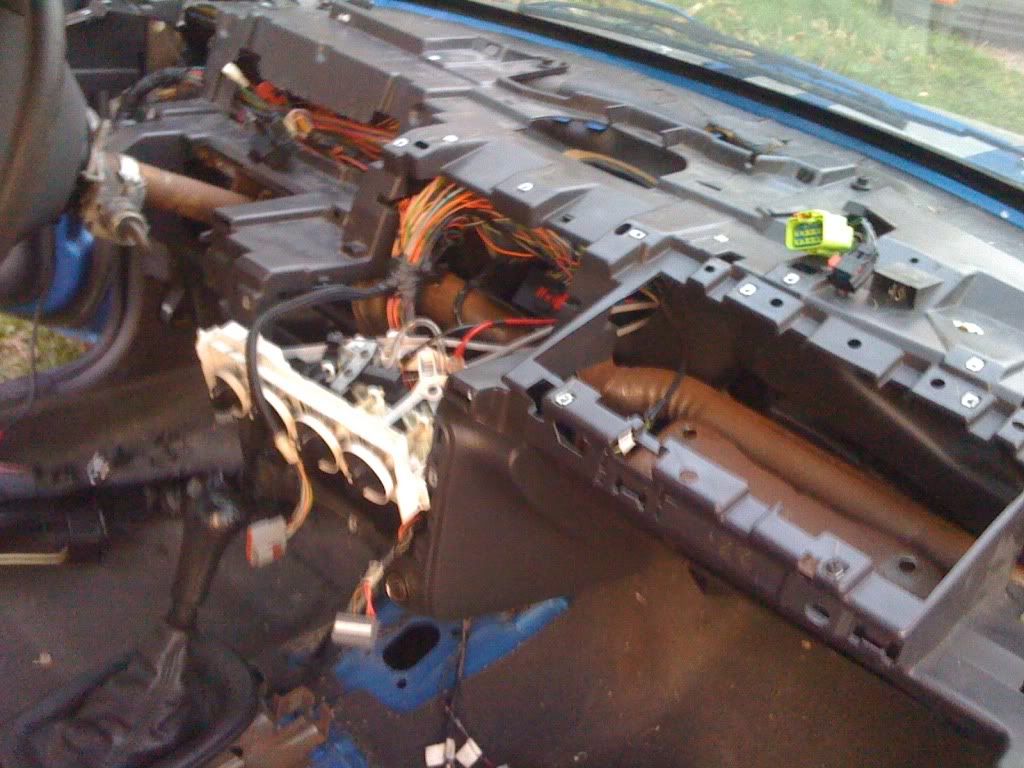
This is what you will see when you first remove the old guage cluster....
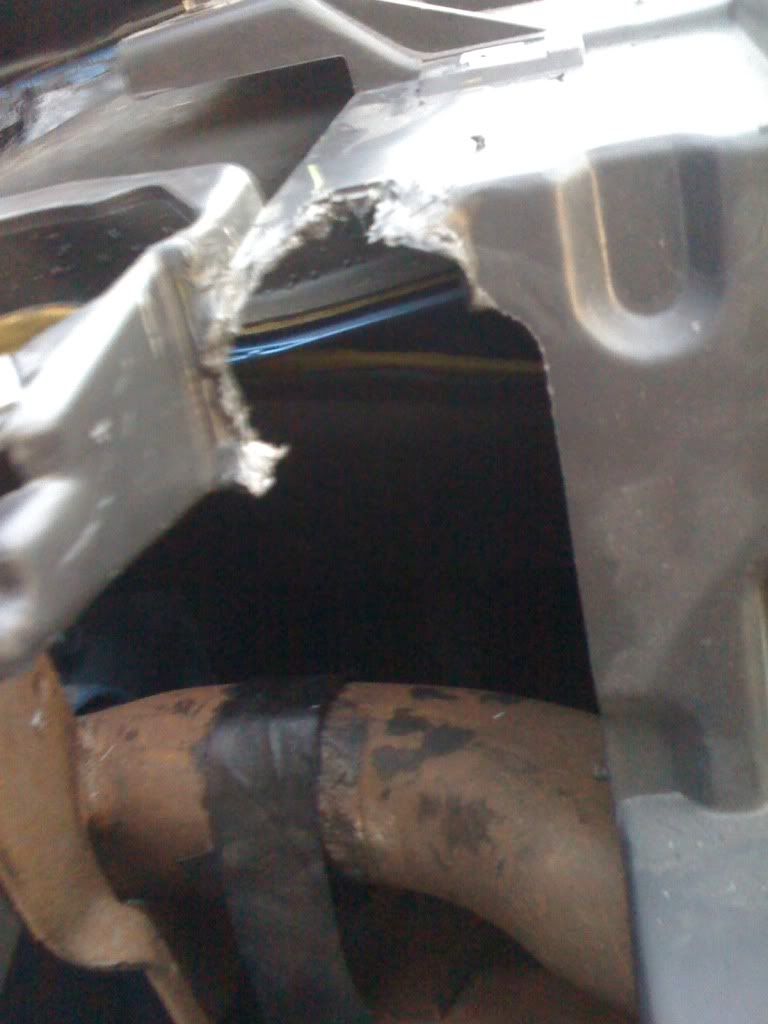
You will knowtest 2 things when you go to put in the SRTs first its to long and second its to tall. To fix this problem you will first need to remove the bottom clips on the cluster to make it fit into the dash. Then you need to cut the dash to fit its length (be careful in doing so if you plan to ever mount a tweeter in the factory location again.
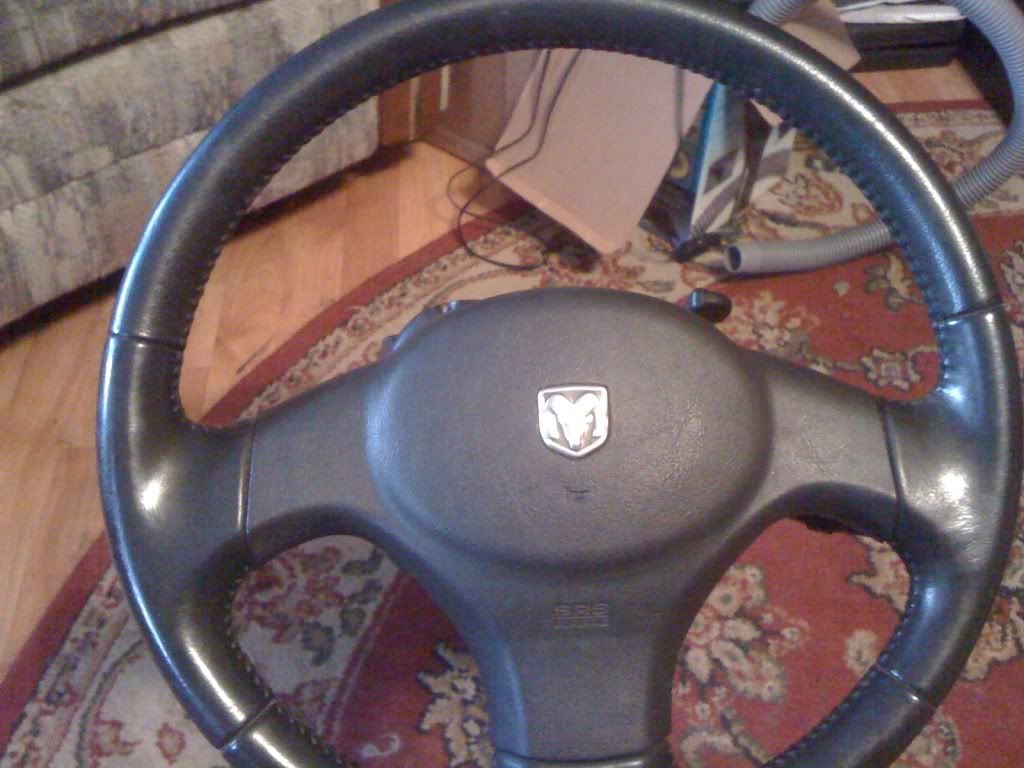
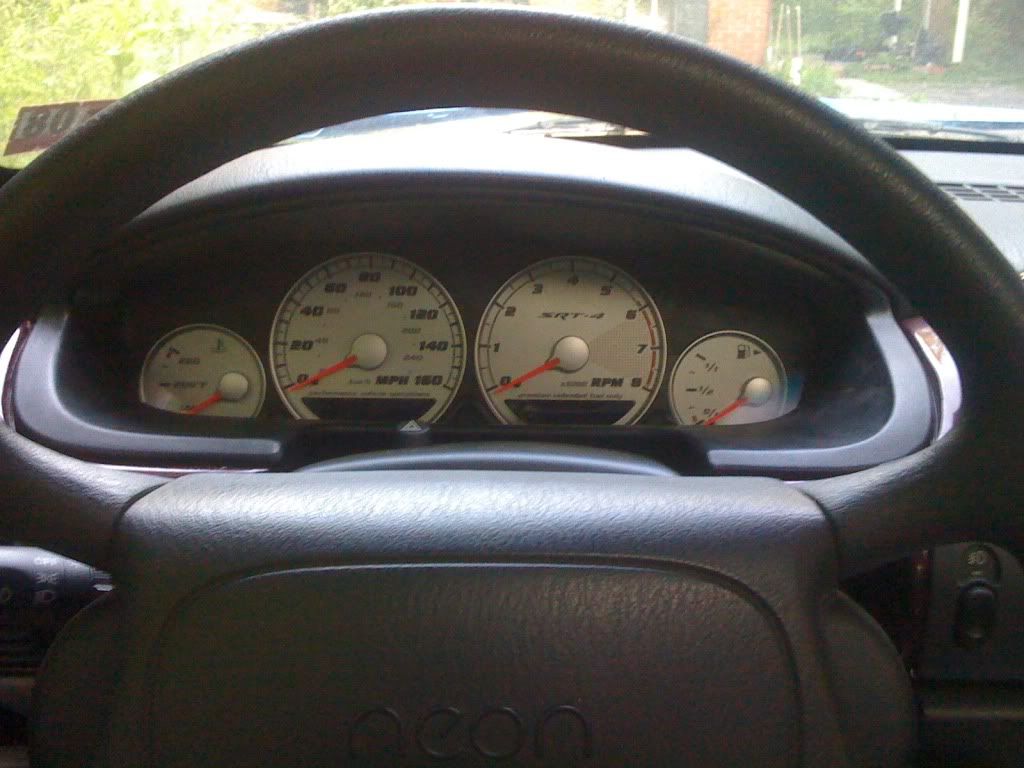
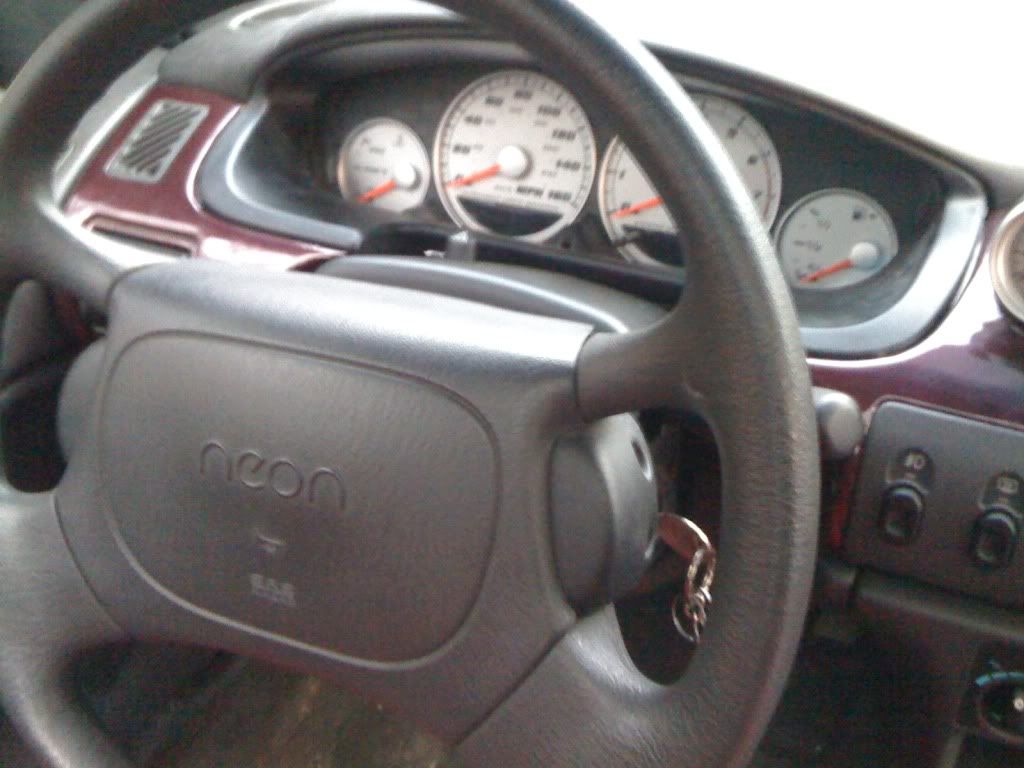
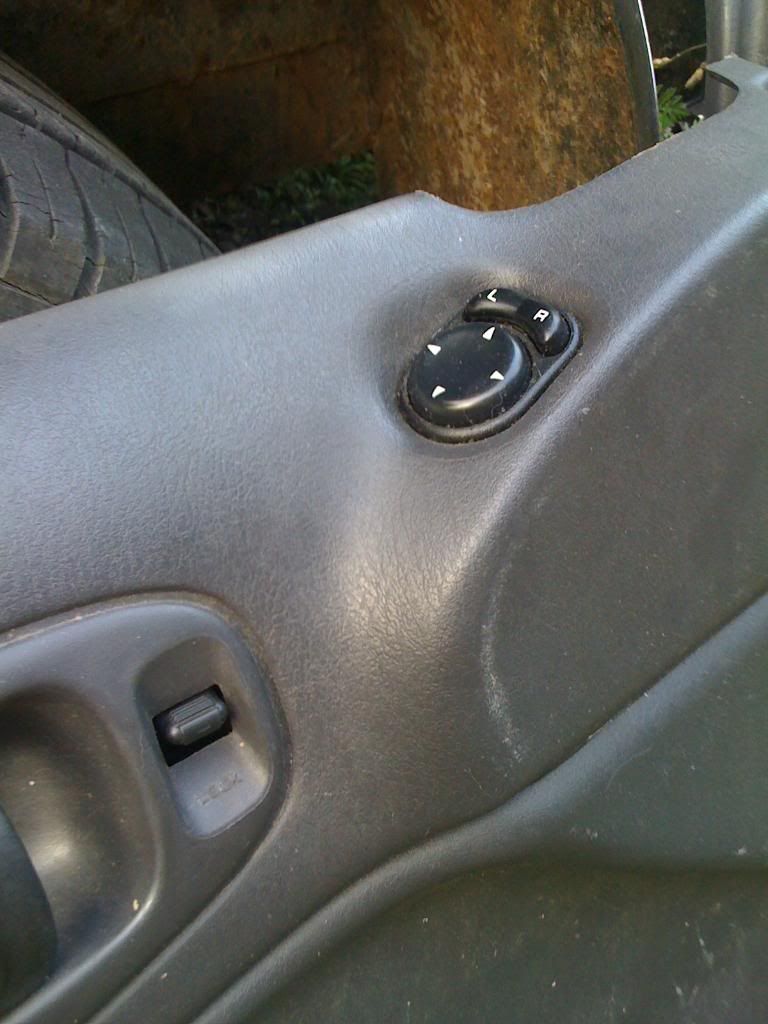
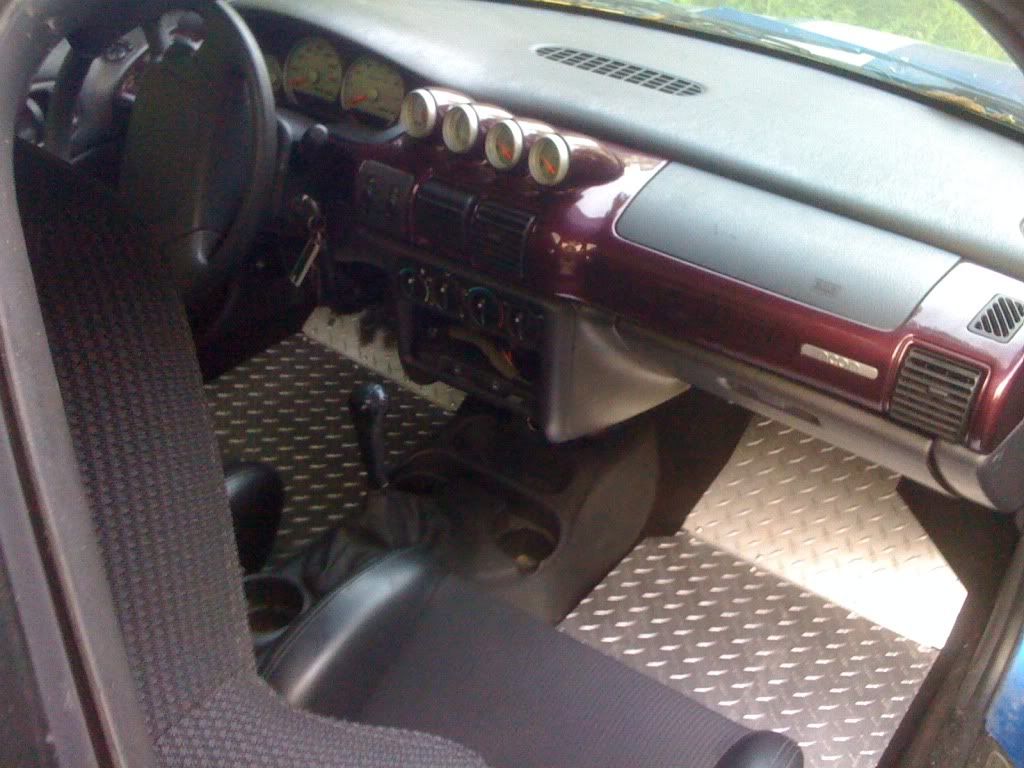
Now if you plan on going complete SRT with interior wiring as well you will want to pick up the combination switchs and steering wheel trim. These drop right into the factory location with no modification at all and at least in my opinion look great. Once in you should have a look similer to this....
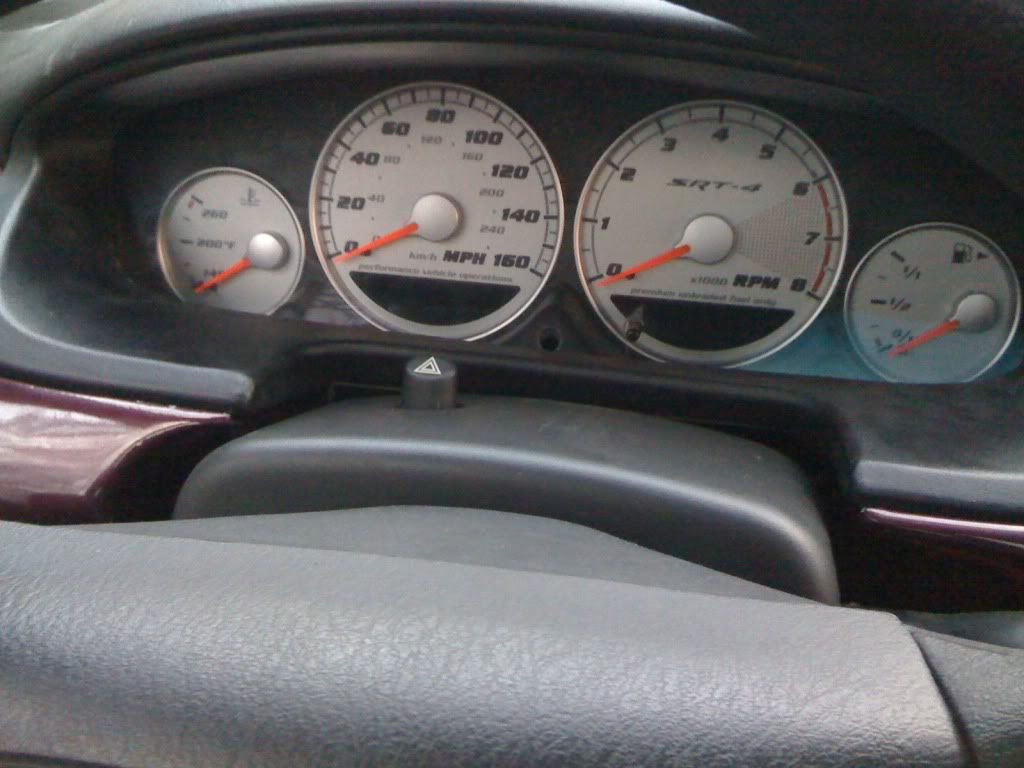
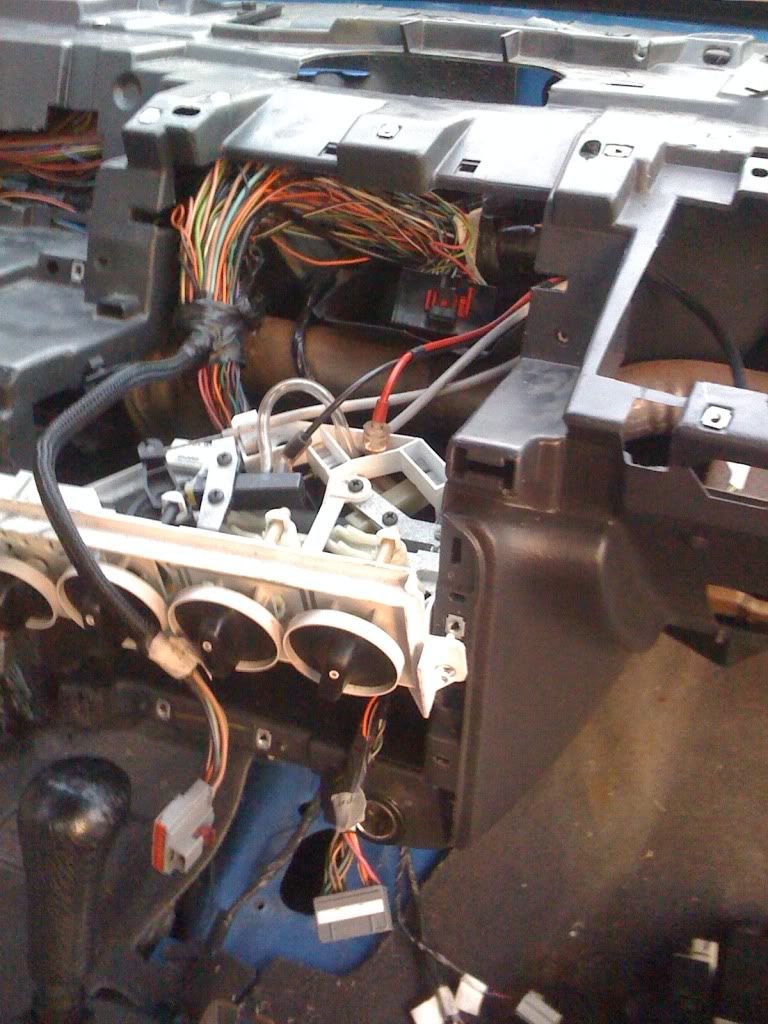
Now to make it cleaner I also ran the wiring through the dash. This also helps to make it easy to get to all locations the plugs need to reach. In doing this I also had to trim some more of the dash to get the plug to the gauge cluster through.

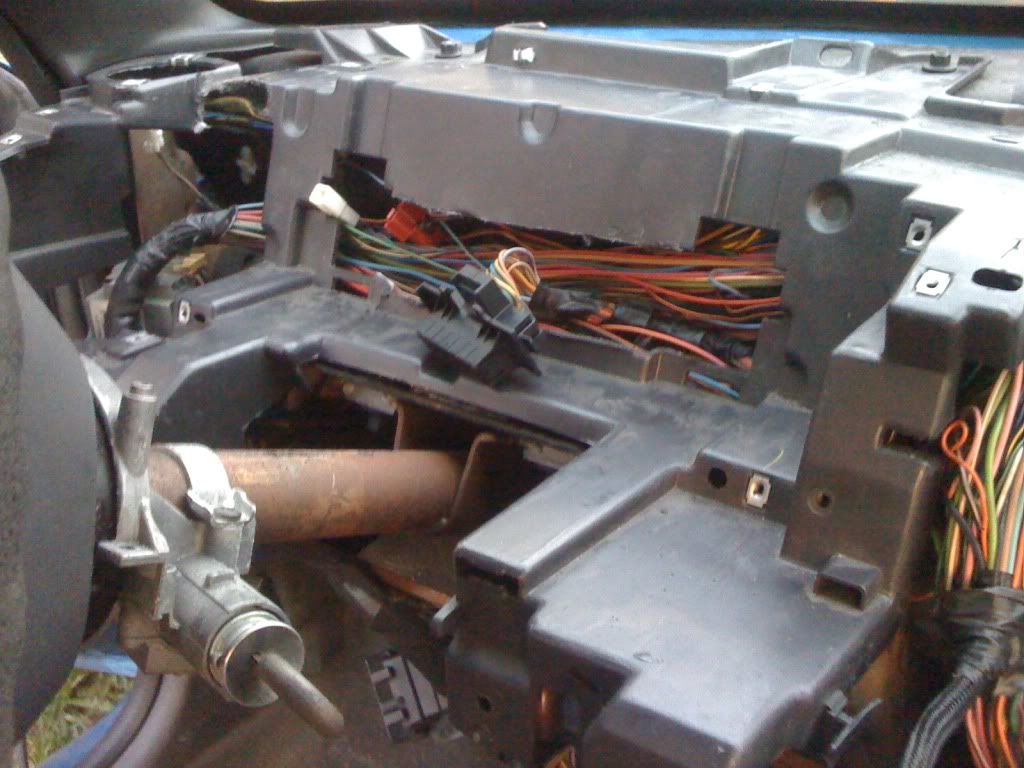
At this point you will also want to use a SRT ignition. And get a large rubber washer to put around the ignition the purpose will be to keep the SKIM transmitter in place so you will want one with large sides the one I used was about 3inches in total diameter.
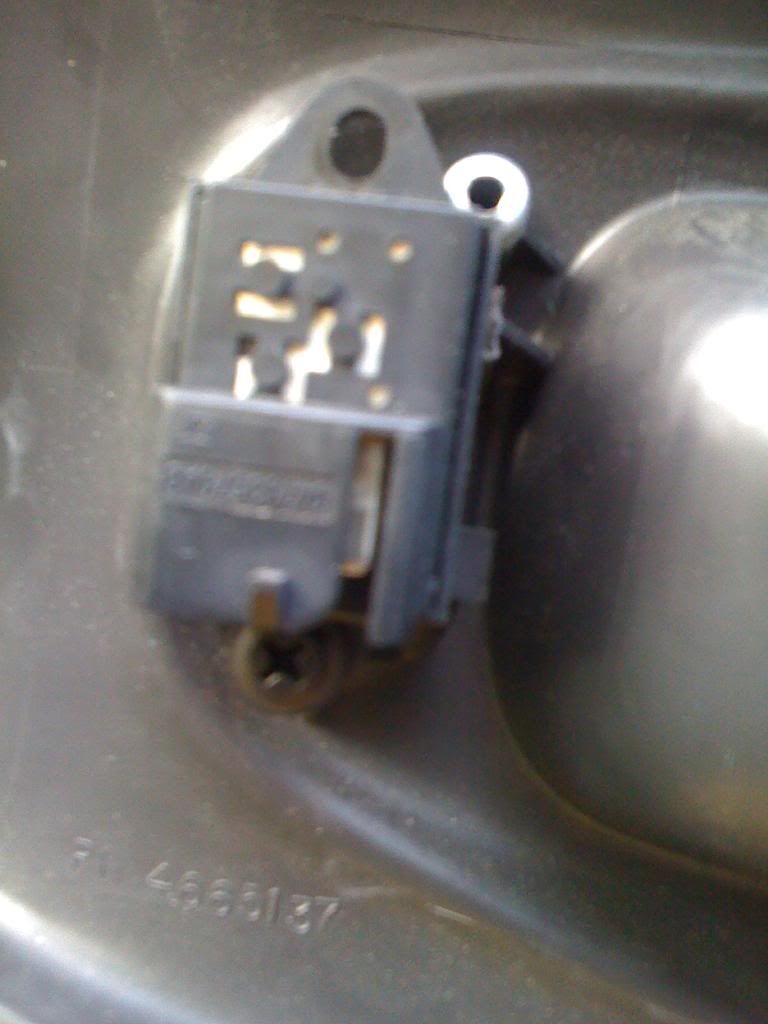
Now for the clockspring, defrost switch, wiper blades, heater blower motor, HVAC and resistor block....
CLOCKSPRING using a 1st gen wheel
20BK/RD to 22BK/RD HORN RELAY CONTROL
Defrost switch
14BK/WT to 12BK/WT REAR WINDOW DEFOGGER SWITCH OUTPUT
14BK/RD to 12BK/RD FUSED B(+)
22WT to 20WT FUSED IGNITION SWITCH OUTPUT (RUN)
22BK/LG to 22BK/LG GROUND
22OR to 20OR PANEL LAMPS DRIVER
Wiper blades use the exact same color wires however the 1st gen is grounded in the cowl area.
16BK GROUND
16DG/YL WIPER PARK SWITCH SENSE
16DB FUSED IGNITION SWITCH OUTPUT (RUN-ACC)
16BR/WT WIPER LOW SPEED OUTPUT
V4 16RD/YL WIPER HIGH SPEED OUTPUT
Heater blower motor
14DG to 14DG FUSED IGNITION SWITCH OUTPUT (RUN)
14BK/TN to 14BK/TN BLOWER MOTOR HIGH DRIVER
HVAC
22OR to 22OR PANEL LAMPS DRIVER
22DB/YL to 22DB/YL (RHD) MODE SWITCH OUTPUT
14TN to 14TN BLOWER MOTOR LOW DRIVER
14LG to 14LG BLOWER MOTOR M1 DRIVER
14LB to 14LB BLOWER MOTOR M2 DRIVER
14BK/TN to 14BK/TN BLOWER MOTOR HIGH DRIVER
14BK/VT to 14BK/VT GROUND
Resistor block
14TN to 14TN BLOWER MOTOR LOW DRIVER
14BK/TN to 14BK/TN BLOWER MOTOR HIGH DRIVER
14LB to 14LB BLOWER MOTOR M2 DRIVER
Blank spot
14LG to 14LG BLOWER MOTOR M1 DRIVER
Now that you have finished wiring up the dash it is time to move onto the doors. The first thing that you will see is that SRT clip will not fit through the opening. We will need to fix this by trimming the excess. Unfortunately I don't have a before pic.
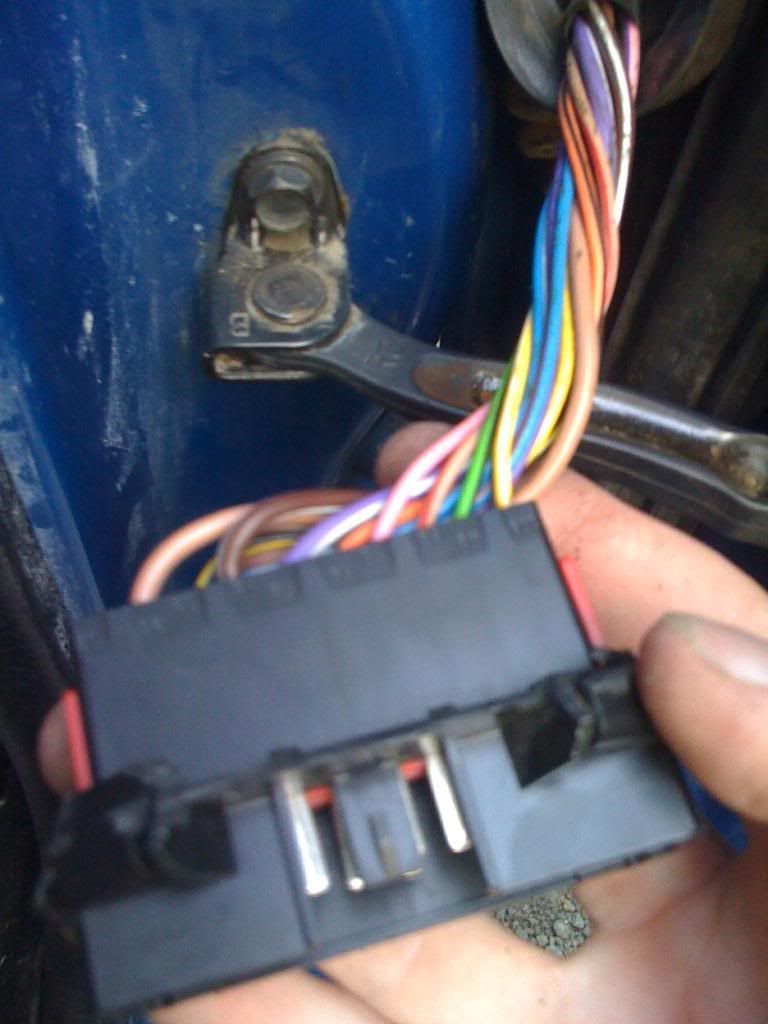
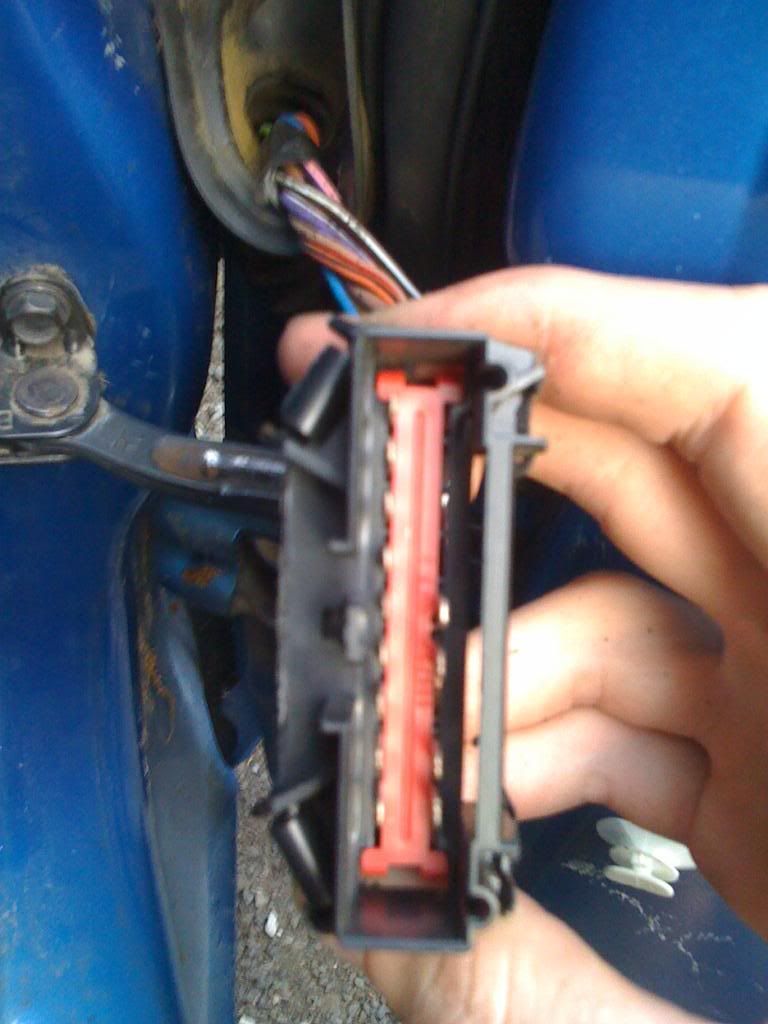
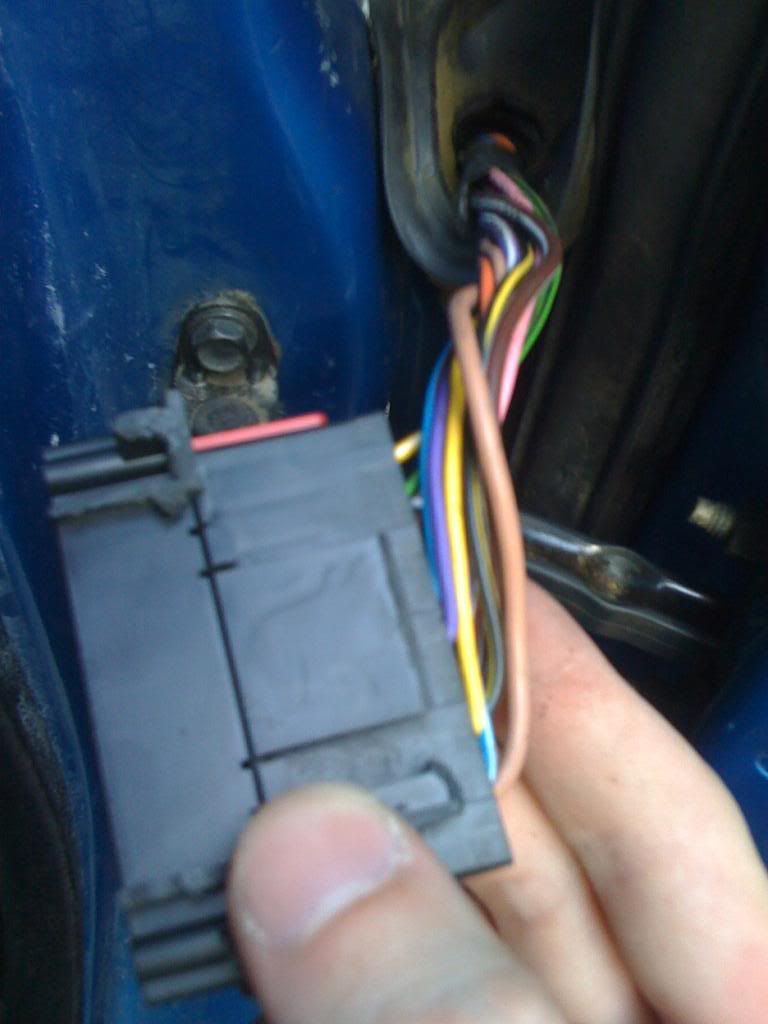
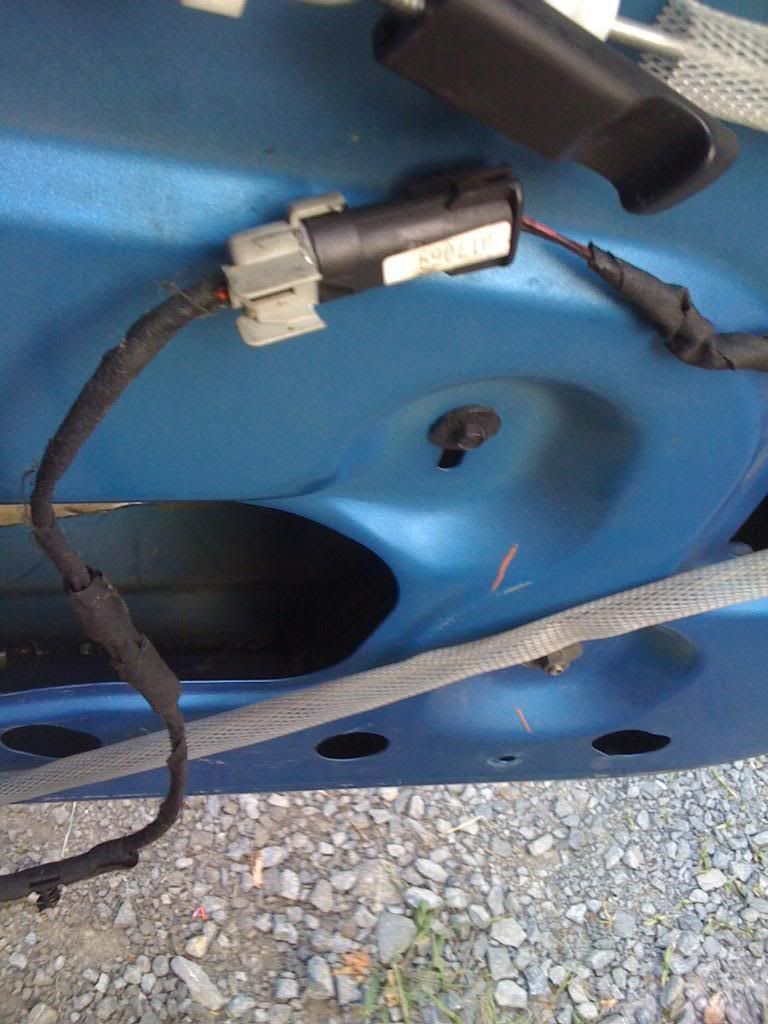
From here I then then spliced the wiring for the mirrors...
On the right door you will do power wires LG/BK and WT/BK on the first gen to YL on the SRT
Horizontal motor WT/YL to YL/WT
Vertical motor YL to DB/WT
and on the left side you will do power wires LG/BK and WT/BK to YL
Horizontal motor YL/BK to WT/YL
Vertical motor DB/WT to WT/BK
and as you can see in this picture the movement switch simply bolts right in

From there I moved on to the door locks splicing wires at the door switch
Right side will be unlock PK/BK to PK/VT and lock will be OR/BK to OR/BK
Left side will be unlock PK/BK to PK/BK and lock will be OR/BK to OR/BK
And again I just used the SRT lock/unlock switch (as you can see in the pic above with the movement switch) but you can only put one screw in and you will have to check the allignment to make sure you can use the unlock position...
As for the windows I did not get a pic of the connector however you will need to splice...
Right side down VT to VT and up BR to BR.
Left side down WT to WT/LB and up LB to LB
and again I simply used the SRT switch however as you will see they do not fit into the switch holder and a custom one will need to be made.
Now everything else here is plug in play assuming you are using a plastic tank (I would also recommend upgrading fuel pump at this time. I went with a Walbro 255 Fuel Pump) with the exception of the taillights. All we need to do here is match Wire to Wire colors are identical)
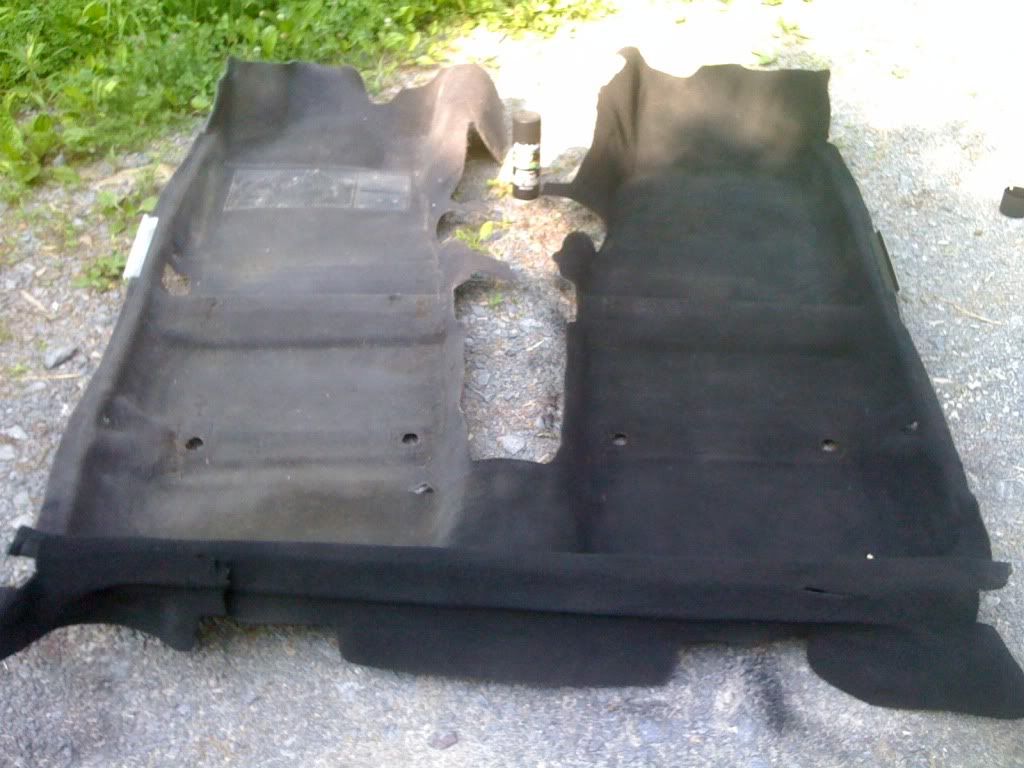
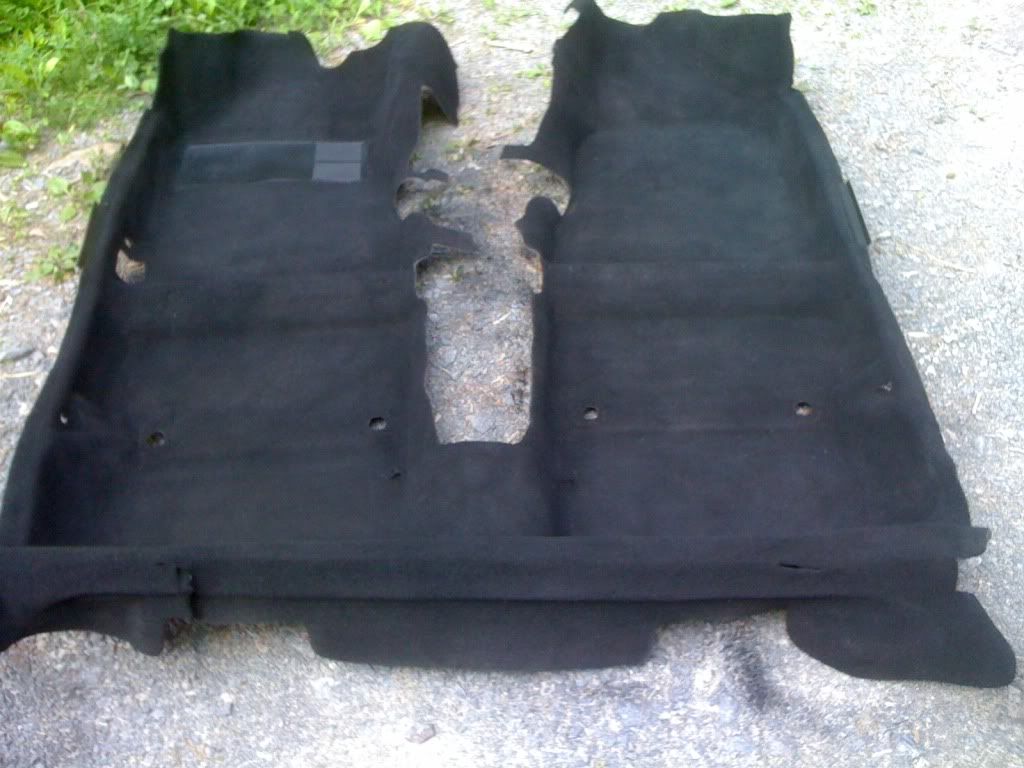
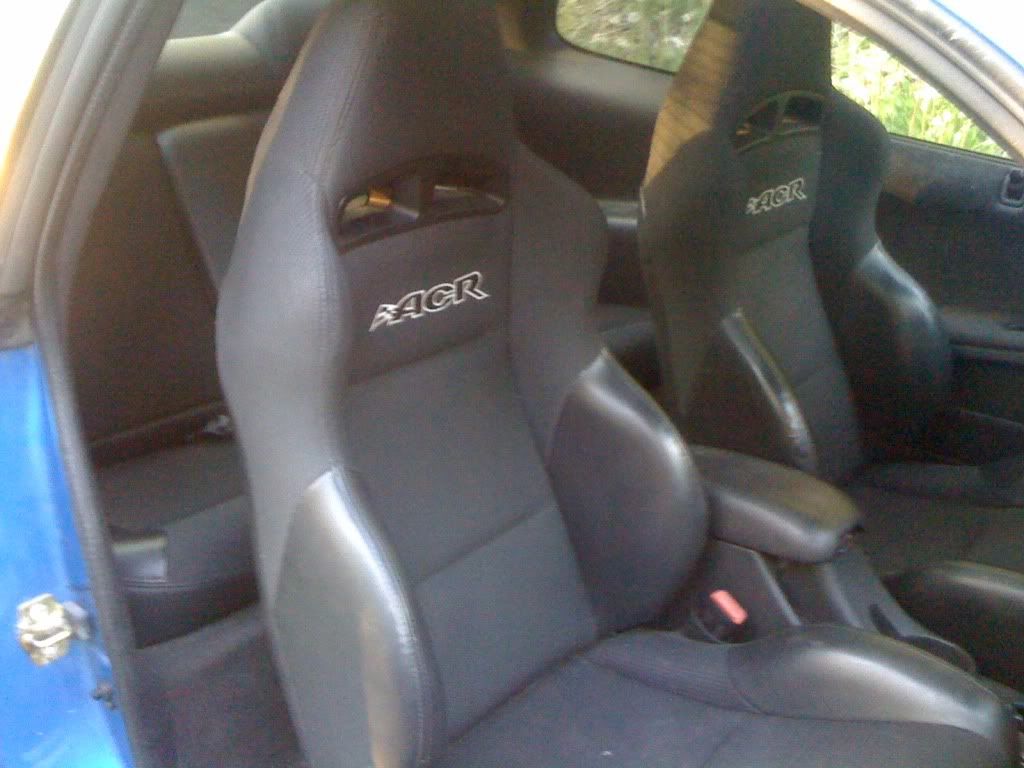
Now that we are done with the interior it is time to button it back up. I also took the time here to redo my carpet and upgrade to SRT ACR seats.
I never would have thought this stuff was any good.
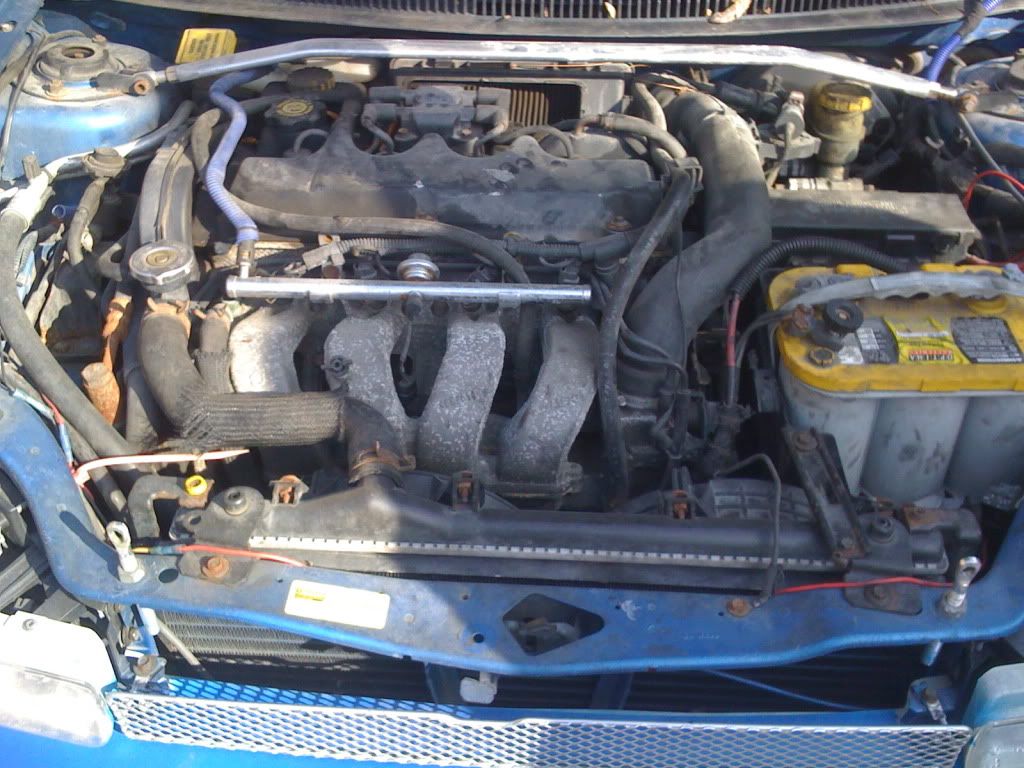
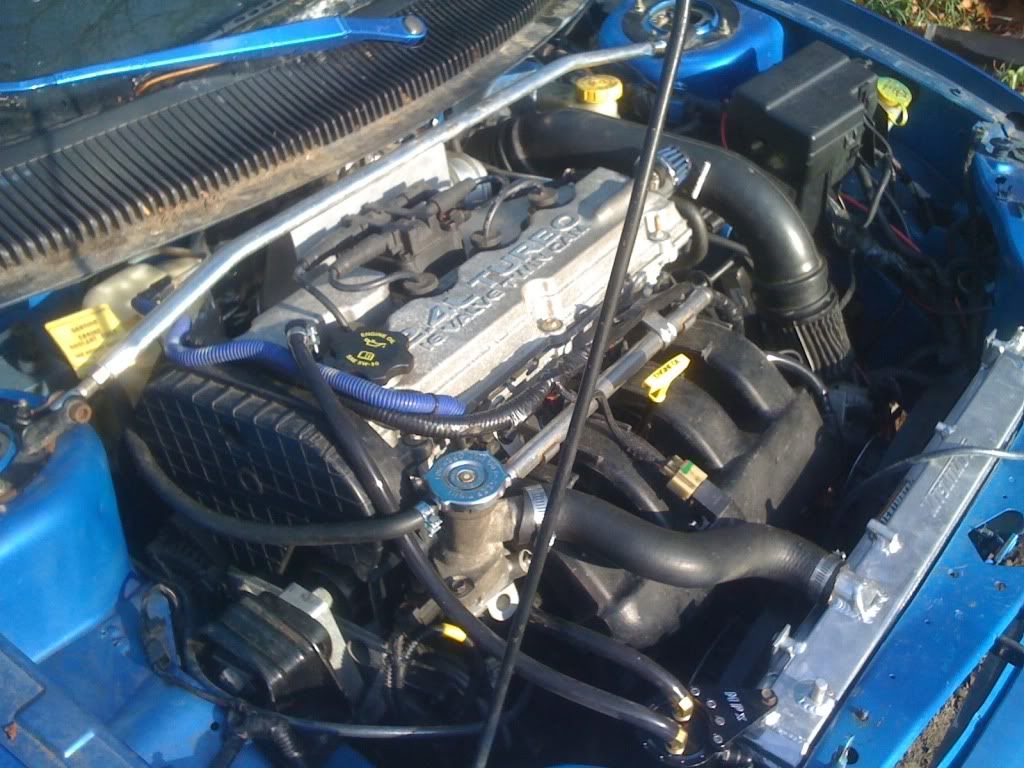
Ok time to move onto the engine bay...
First thing we must to is pull the motor and extra wiring (if you haven't already) This is also when I took the time to clean and repaint. Also you will want to add a heat shield of some kind to your brake and fuel lines.

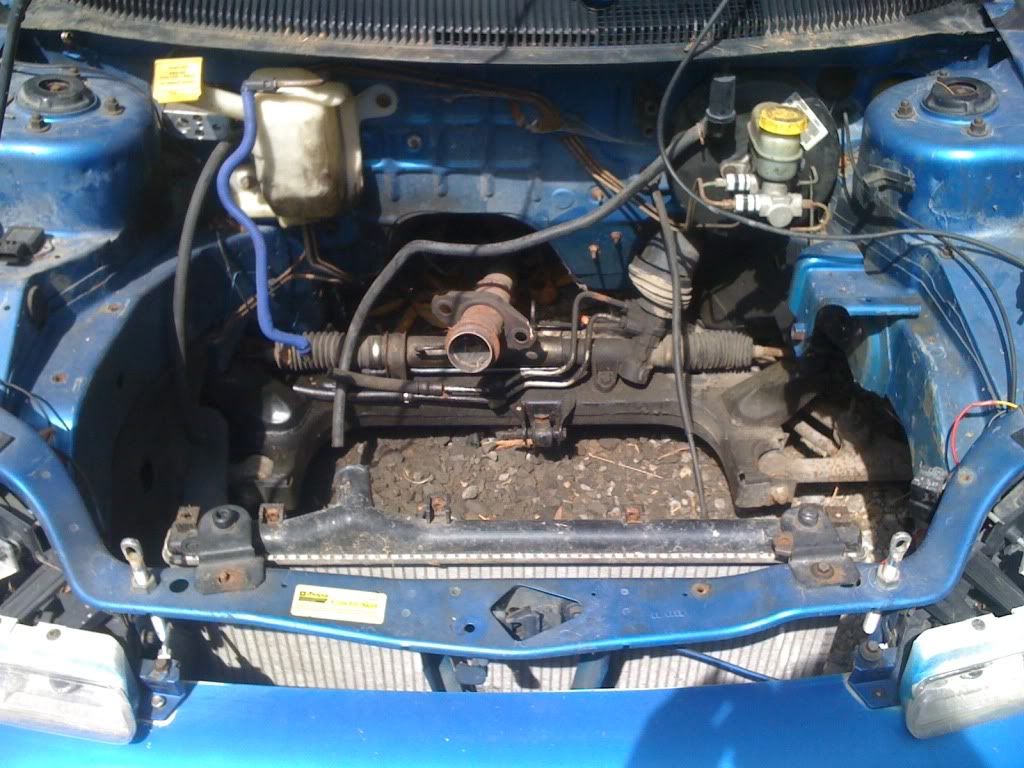
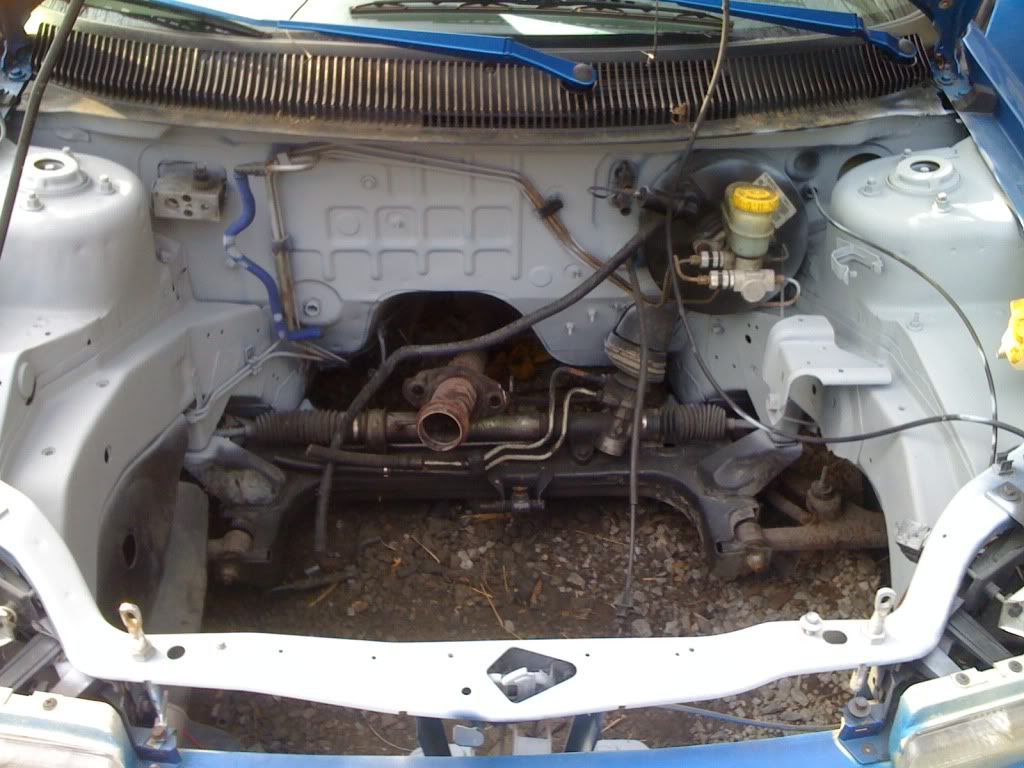
Now that we have done this you will want to grind off the bobble strut mount. And put in the wiring. Only a few changes need to be made here.
Turn signals
Left
18 LG to 18LG/OR LEFT TURN SIGNAL
18BK/YL to 18BK/YL HEADLAMP SWITCH OUTPUT
18BK to 18BK (2.4L TURBO) GROUND
Right
18TN to 18TN/RD RIGHT TURN SIGNAL
18BK/YL to 18BK/YL HEADLAMP SWITCH OUTPUT
18BK to 18BK (2.4L TURBO) GROUND
REVERSE SWITCH 1ST GEN
20VT/BK to 18VT/BK
20VT to 18WT
Also the SRT horn is on the left and the windshield washer fluid is on the right. To solve this and keep it simple move the horn over and extend the wiring to the washer fluid reservoir.
Now that all that is out of the way it is time to move onto the mechanical aspect of the build.
Here you will need a SRT engine, 2.4 motor mount adaptor and I would recommend race inserts for your motor mounts.
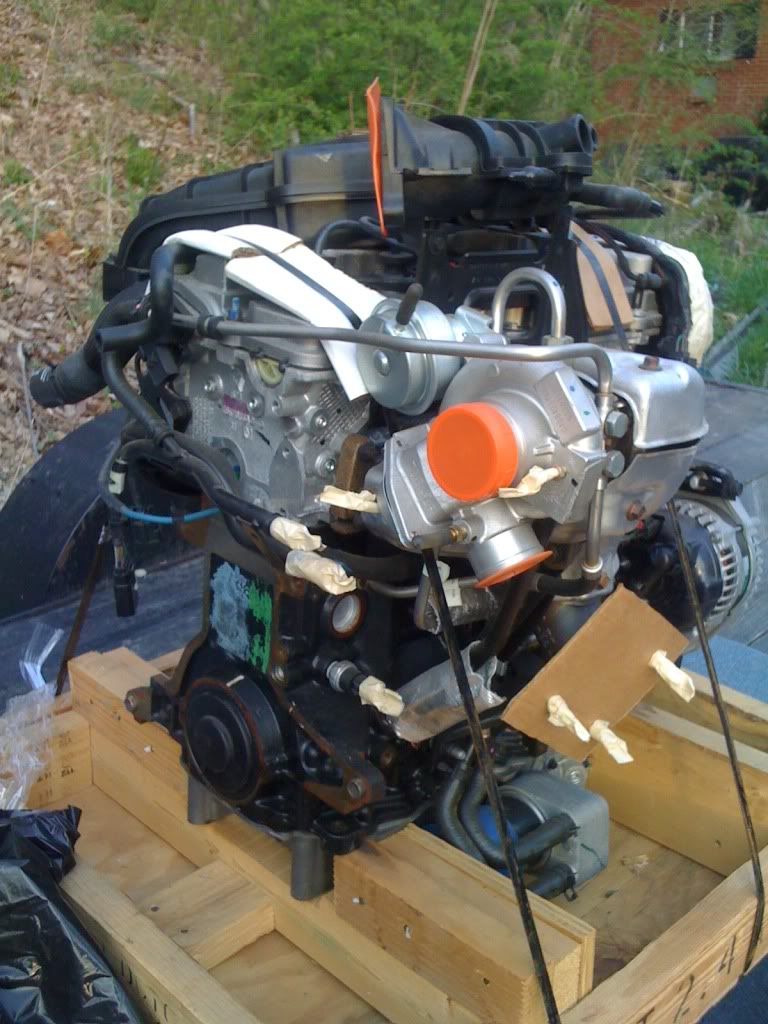
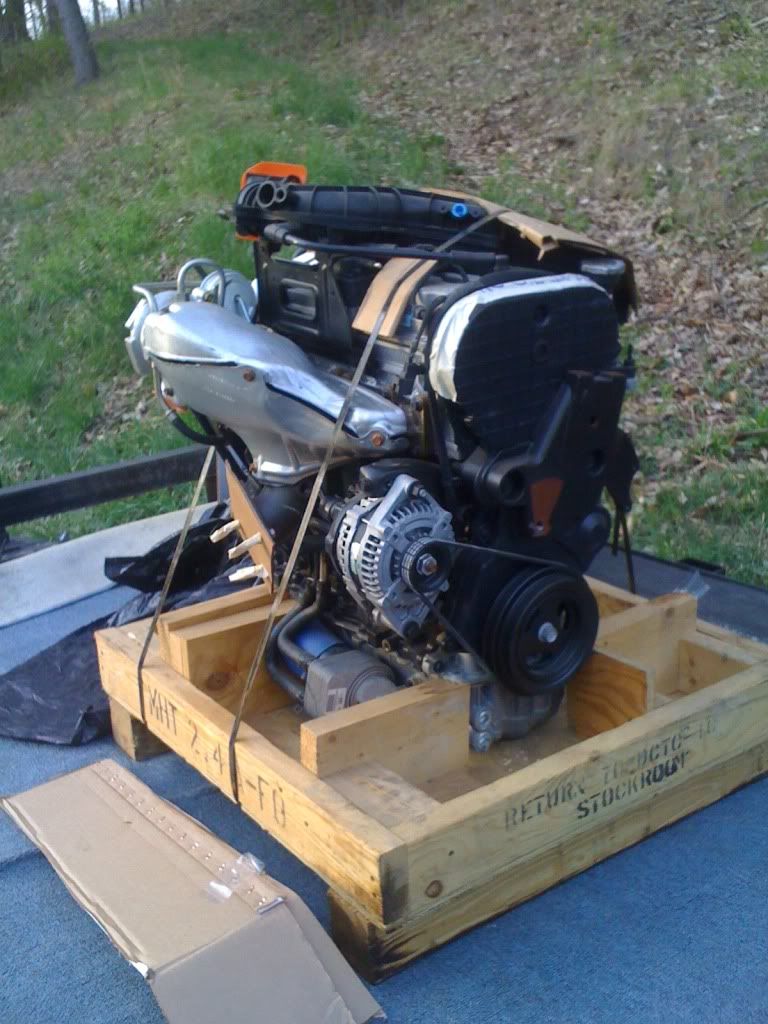
Now lets put it in.


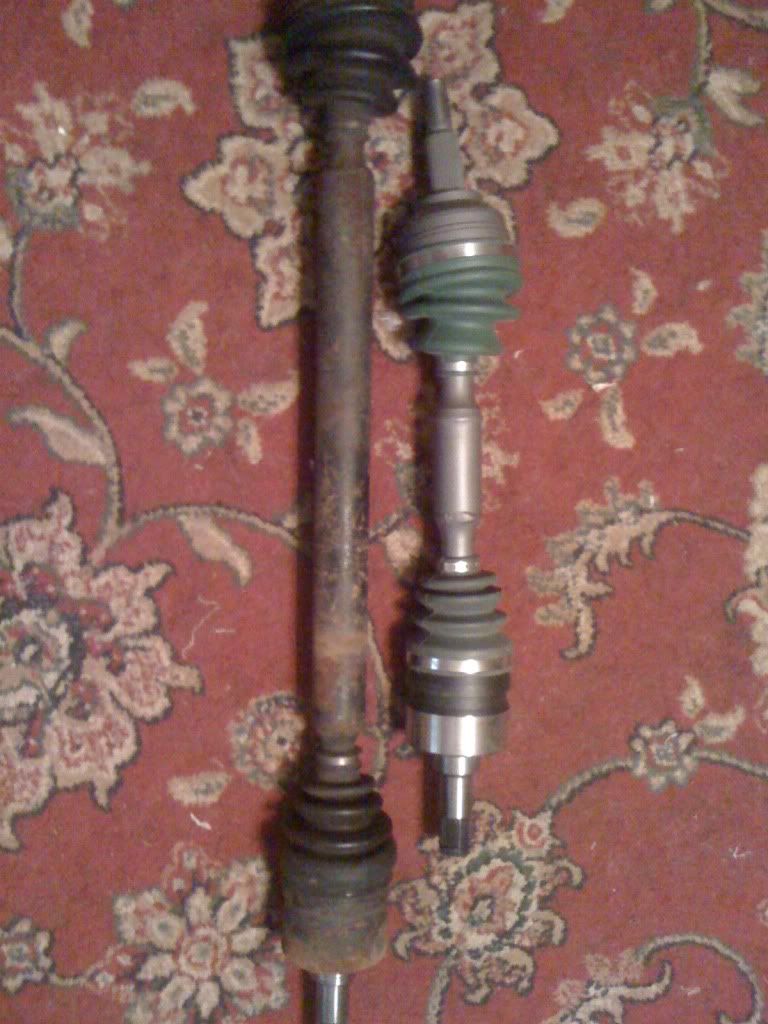
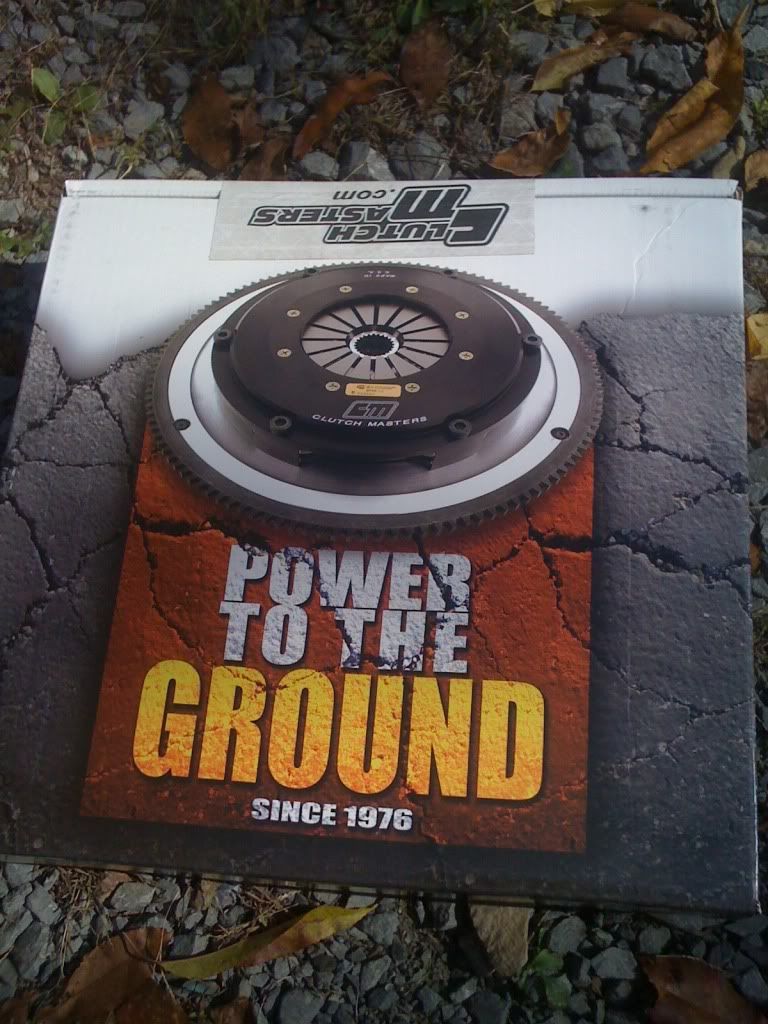
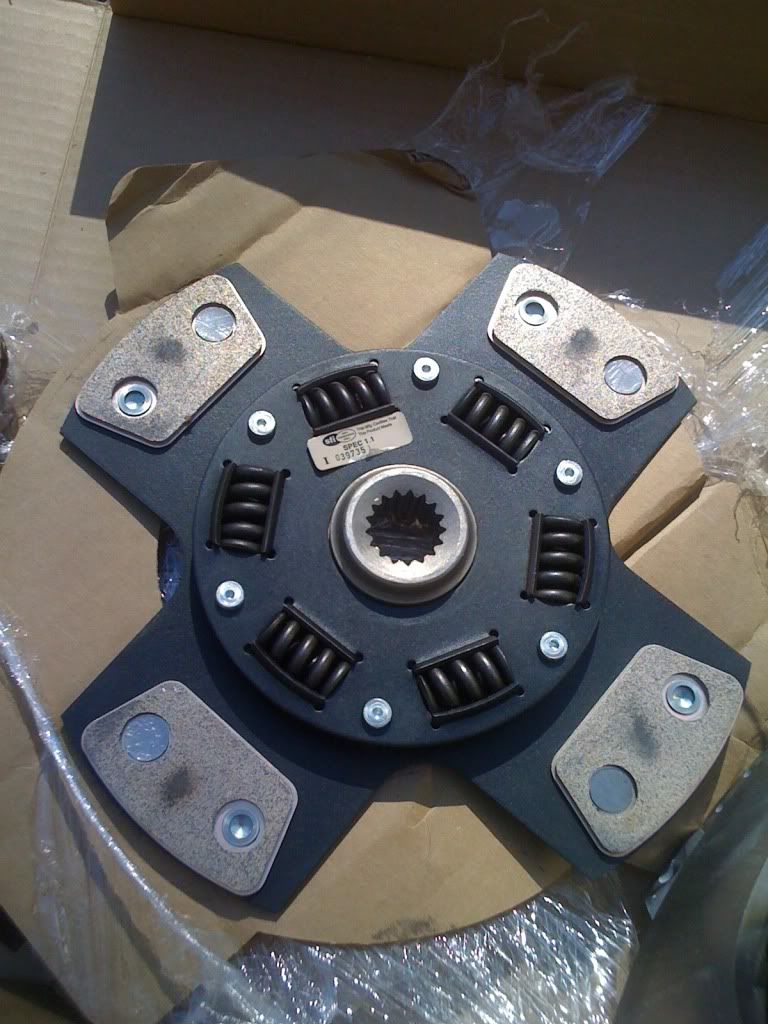
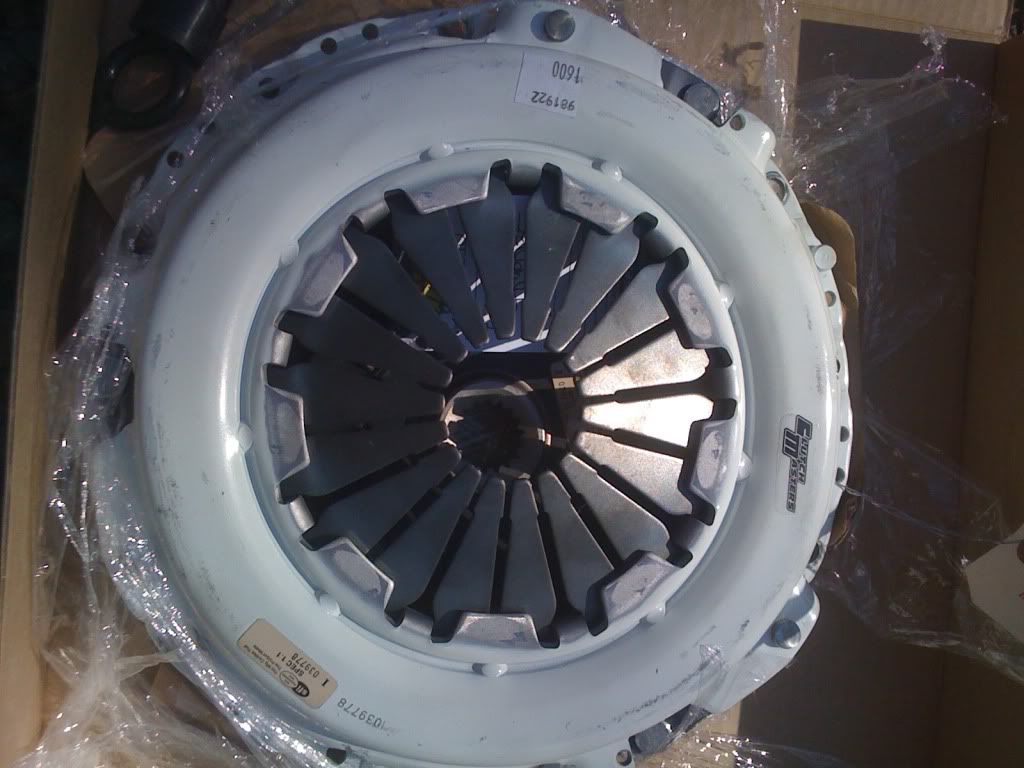
Now before you put the transmission up I would recomend using a clutch and set of axles (I went with a Clutchmasters FX400 (Stage IV) with DSS stage 3 axles)
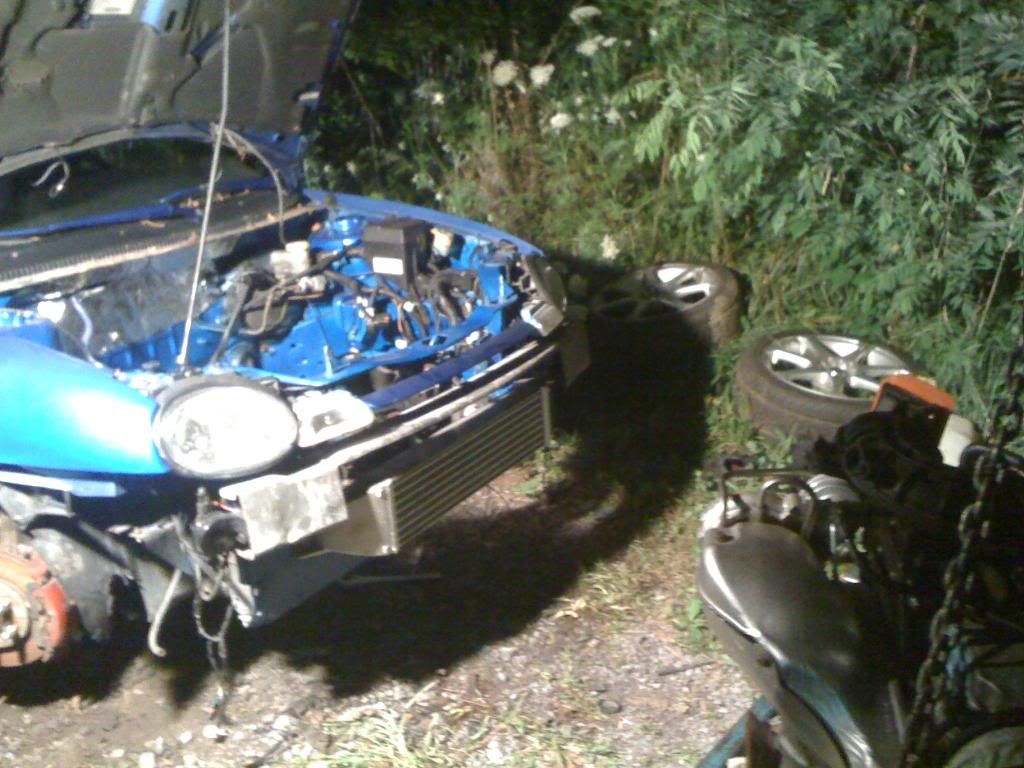
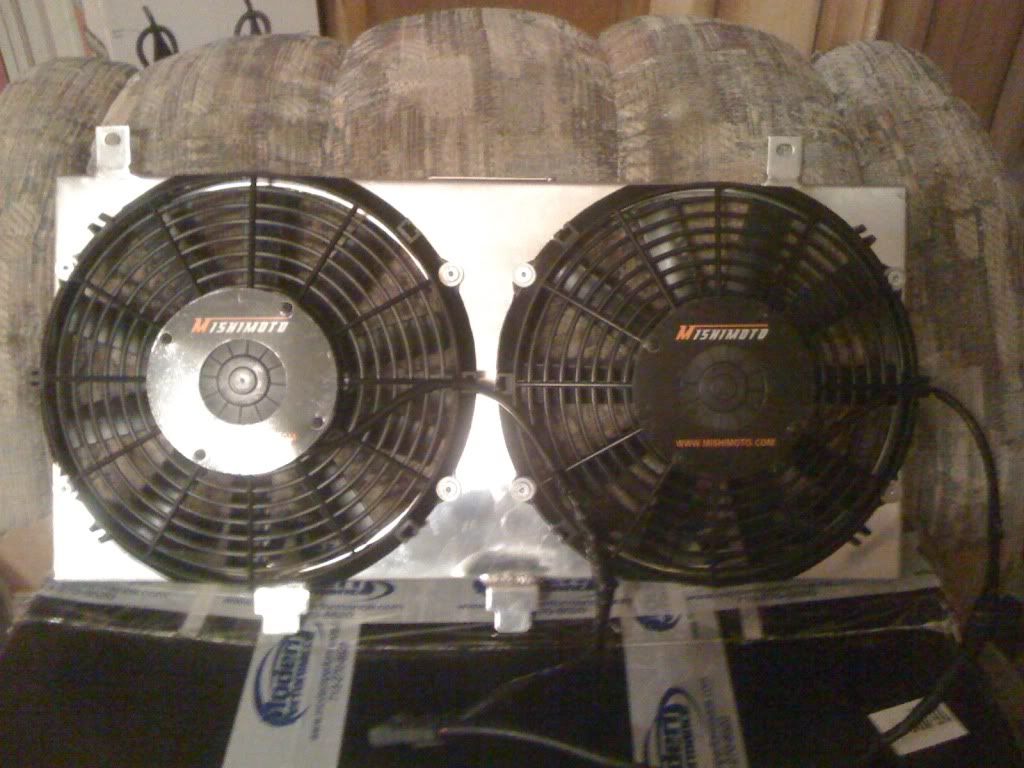
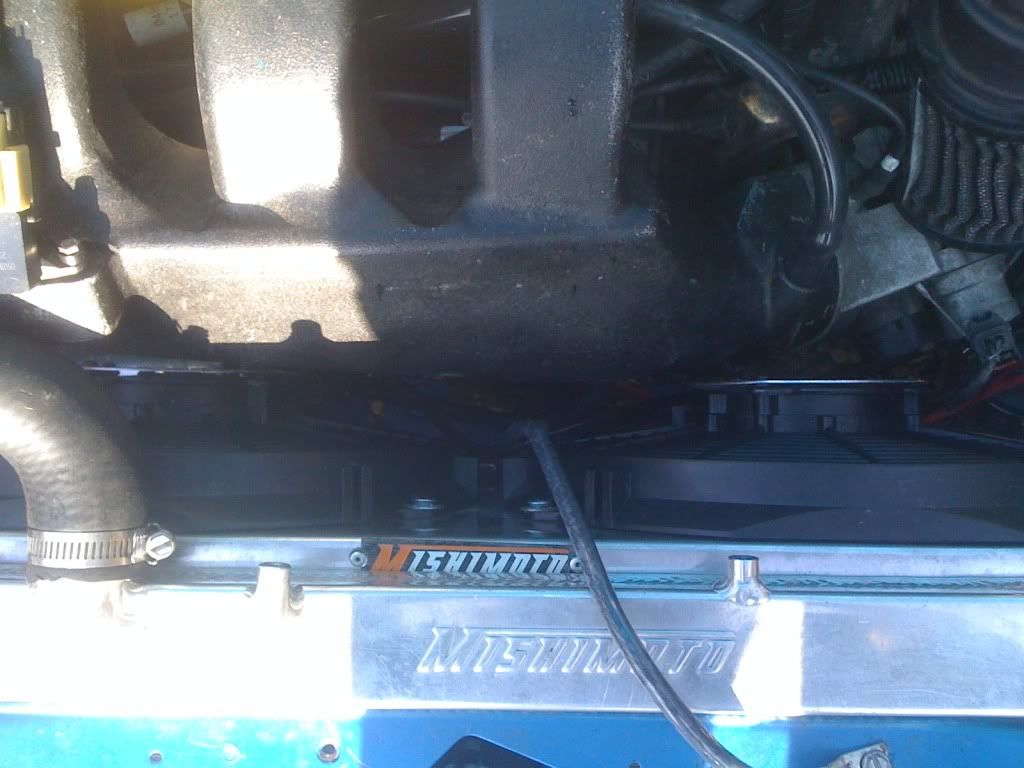
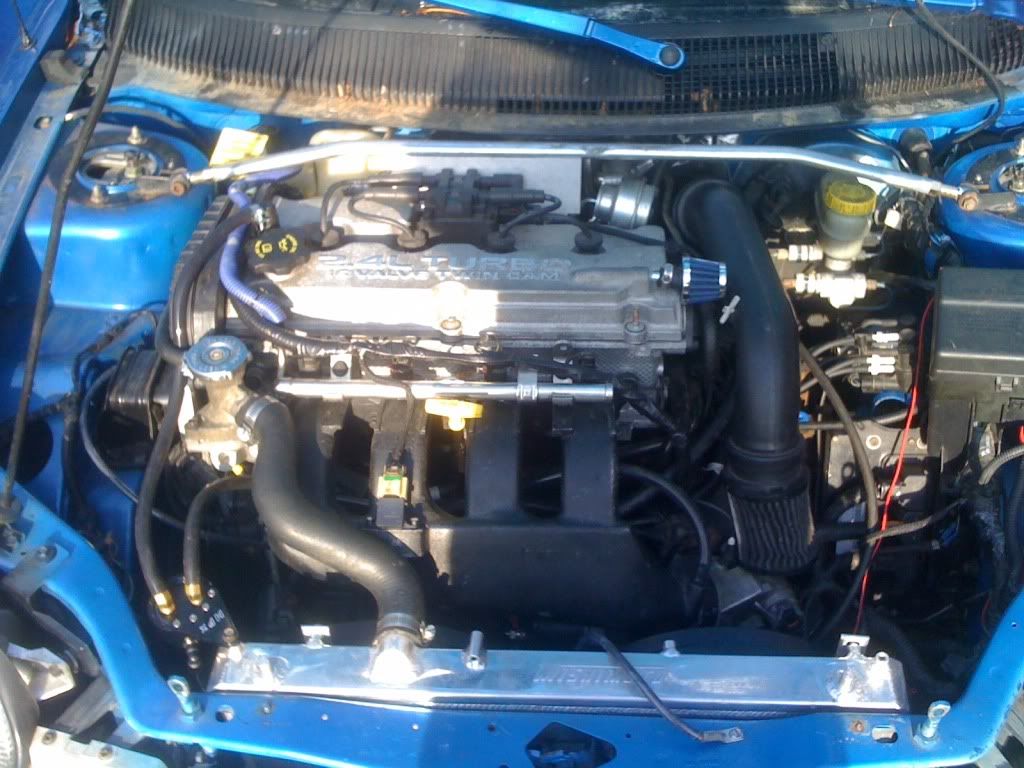
Now that that is done it is time to move onto the radiator. I would advise a bigger then factory set up (I went with Mishimoto Radiator and fans the fans were a must as you can see in the pics)
Now it is time to install your intercooler and piping (I went with a Mishimoto intercooler with 3" piping which forced me to cut my bumper but your may very).

Now I would install a oil catch can (I used Modern performance) but it is not necessary. Go ahead and hook up your vacuum lines and start her up.

Now you think your done. That is till you try and shut the hood and realize it doesn't clear your new engine. But this is a easy fix.
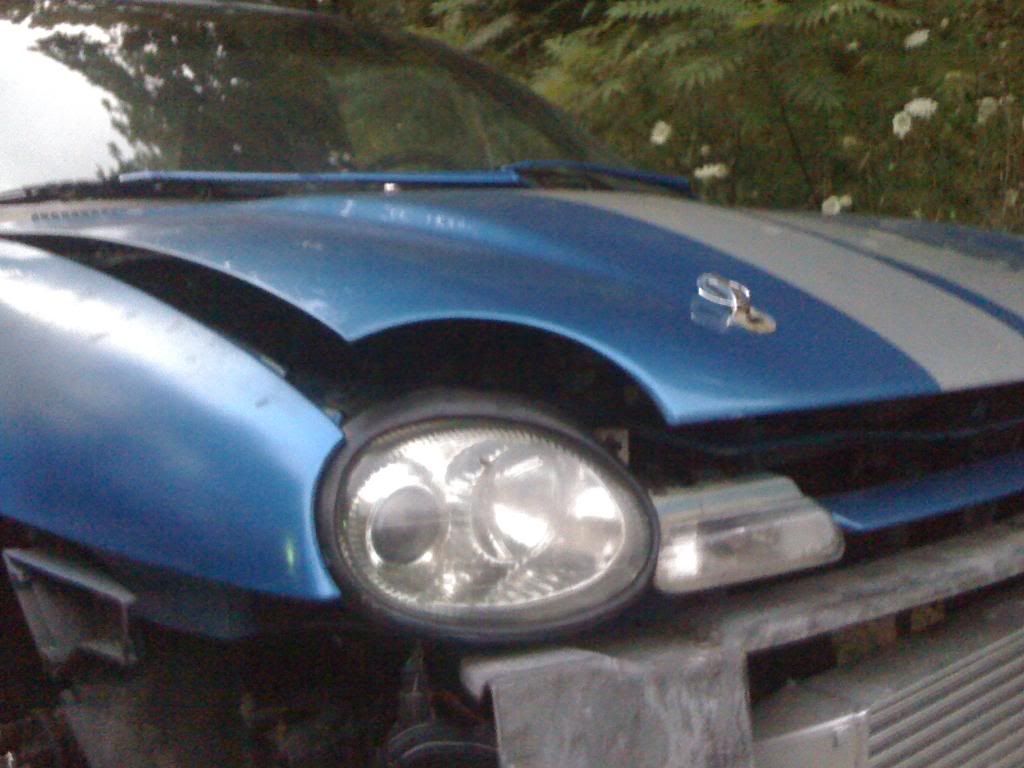
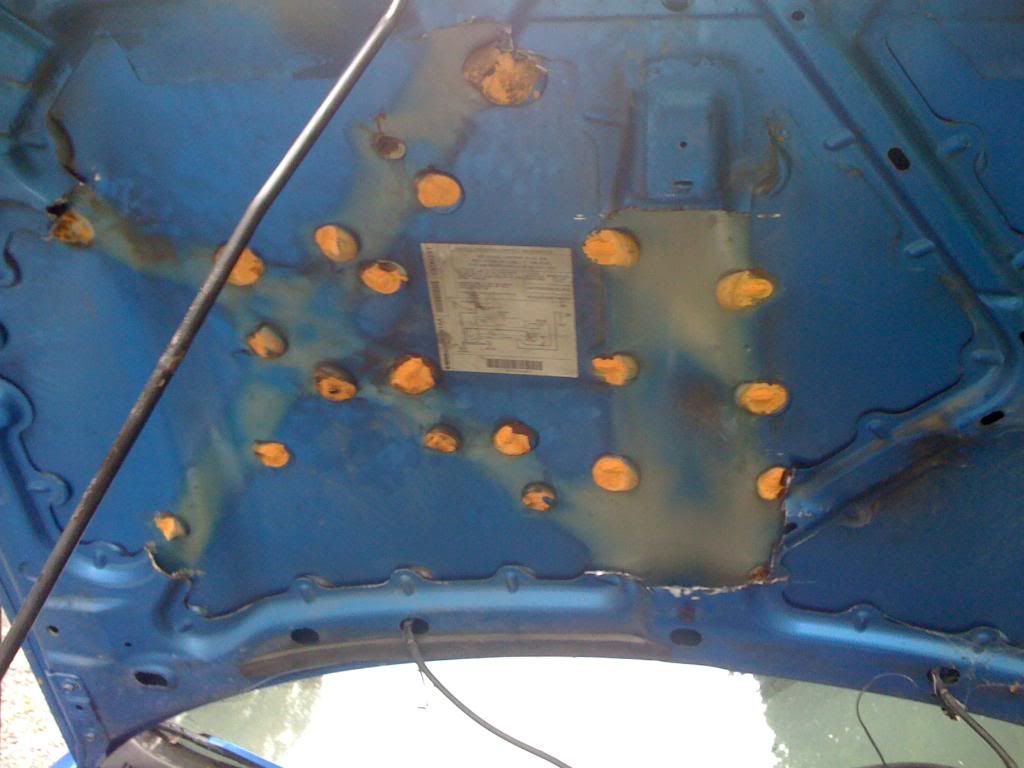
Now clean up the cuts, clear off the tack, repaint, close the hood, and put on your bumper cover...

Good as new.
Now from here on out I this is simply what I have done to my ride but isnt something you would have to do...
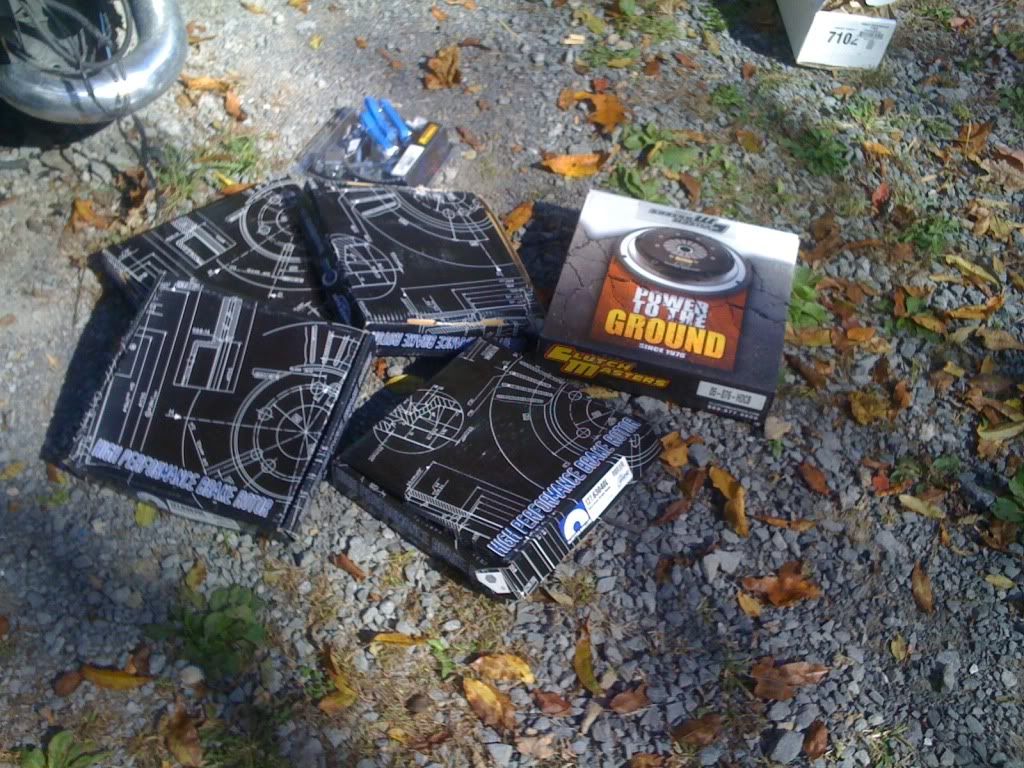
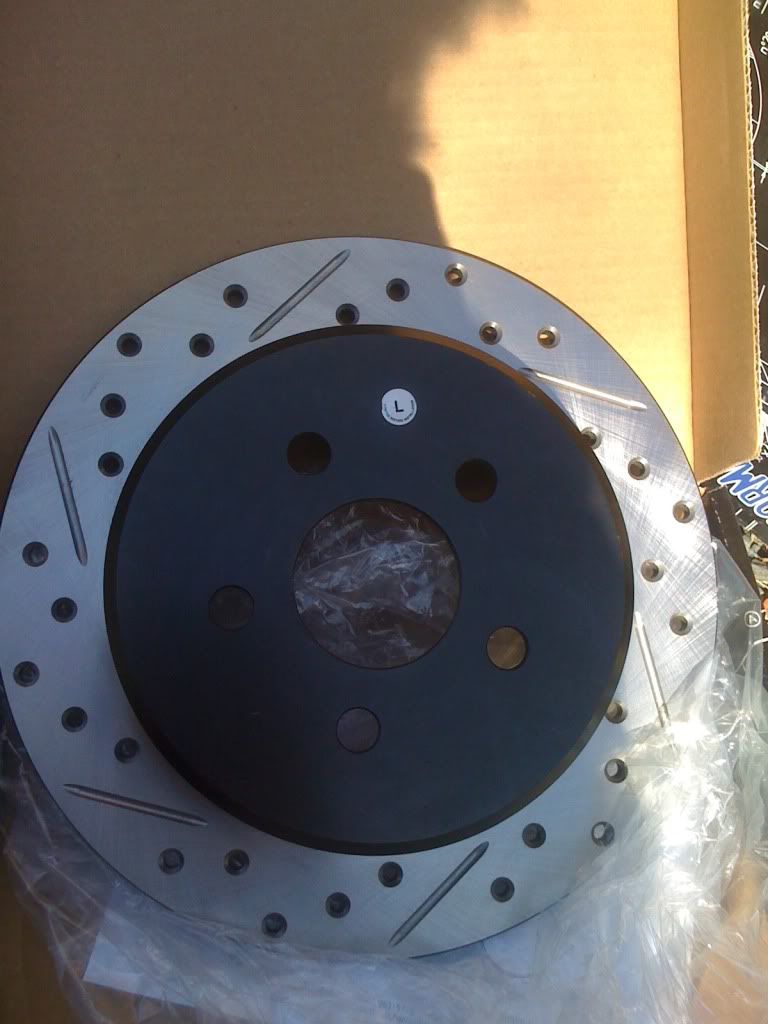
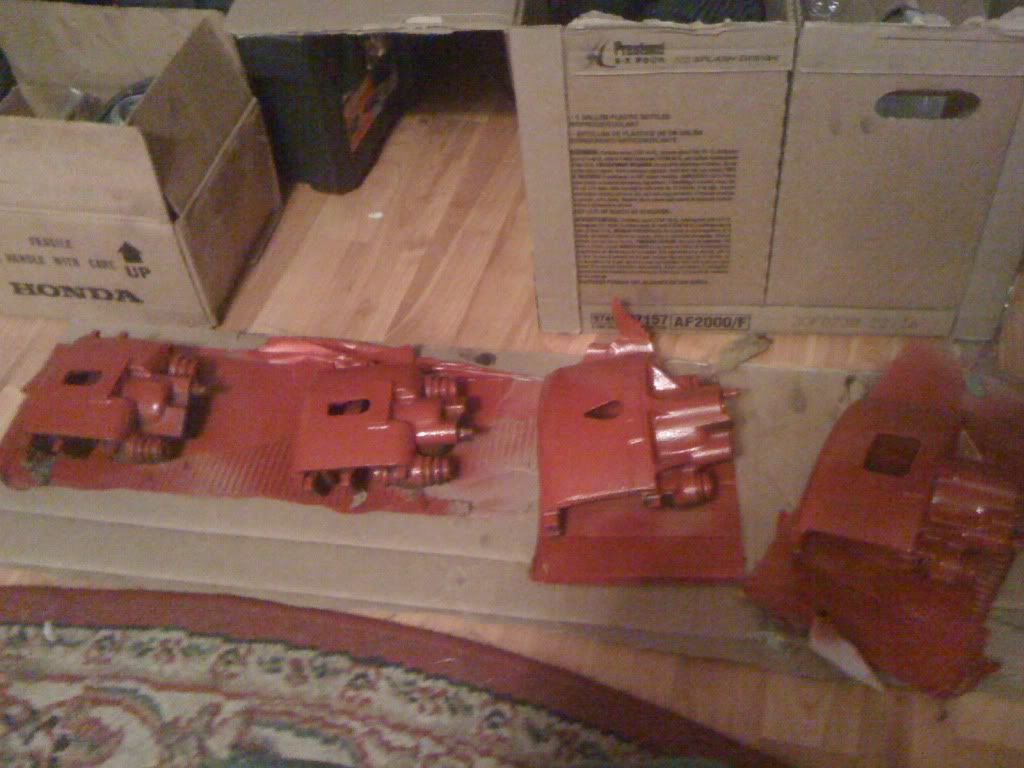
I feel that the number one thing that is overlooked with upgrades is stopping. I went with Russell braided break lines with Sportstop front and rear drilled and slotted. Also took the time here to get new calibers and paint them.
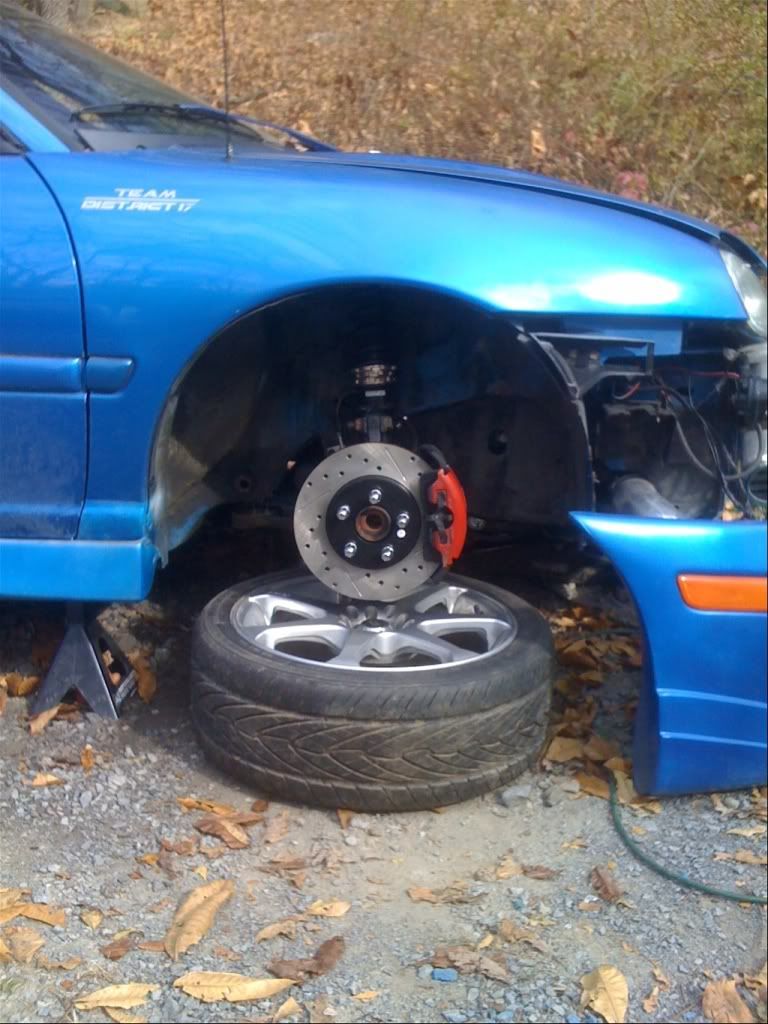
As you can see in the last pic I also took this time to upgrade to BC Coilover Suspension along w/Vibrant Polished Front & Rear Strut Bar & Prothane Bushings.
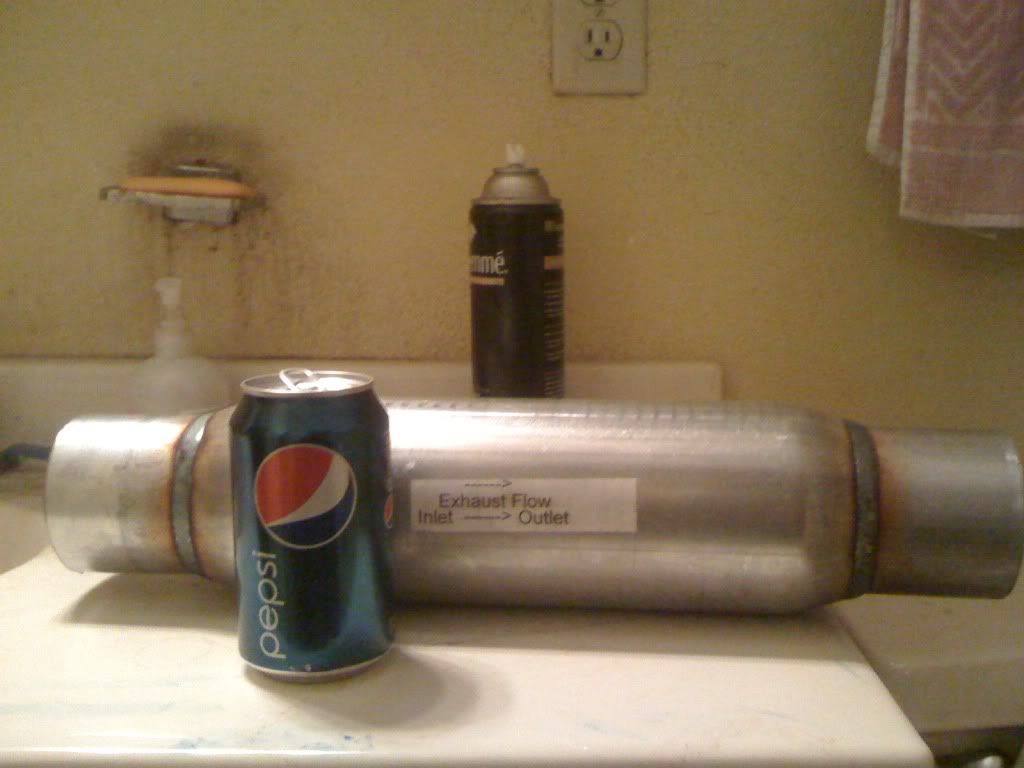
Also I am upgrading to a 3" exhaust and to meet WV regulations including a muffler.
Def will have lots more to come!